Rough cider, or scrumpy, is trivial to make at home, and delicious. All you need is apples, a means of juicing them, and a source of yeast. For that matter, it’s trivial to make anything beer-like in strength. I’ve never understood jurisdictions that prohibit or limit home brewing – as is pointed out in the rather excellent Sacred and Herbal Healing Beers: The Secrets of Ancient Fermentation, if you want 5% alcohol, you can get it by combining four litres of water, half a kilo of sugar and some yeast.
The absolute simplest way to make rough cider is to grab a couple of kilos of apples fresh from a tree if you have one, or from an orchard if not. You want apples off the tree – overripe, bruised or slightly squishy are fine, but not those dreadful shiny waxed things you get in the supermarket, because they’re not going to have any wild yeast on them anymore. Juice the apples, put the juice in a 1.5 litre plastic bottle and leave it sitting around at room temperature for a week or two. Open the lid to let the pressure off occasionally. The wild yeast that was on the apples will ferment the juice into a pulpy, cloudy cider. Or, you can put a pinch of brewers yeast (from a homebrew store, not the stuff you can buy as a nutritional supplement, which is likely dead and thus useless for our purposes here).
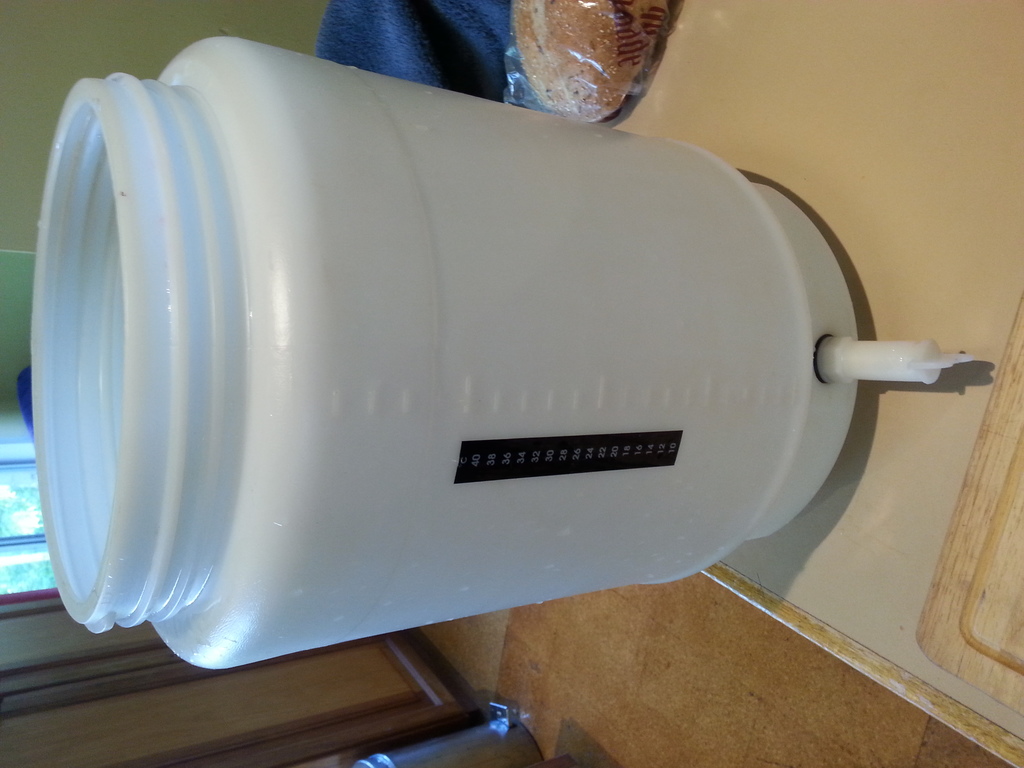
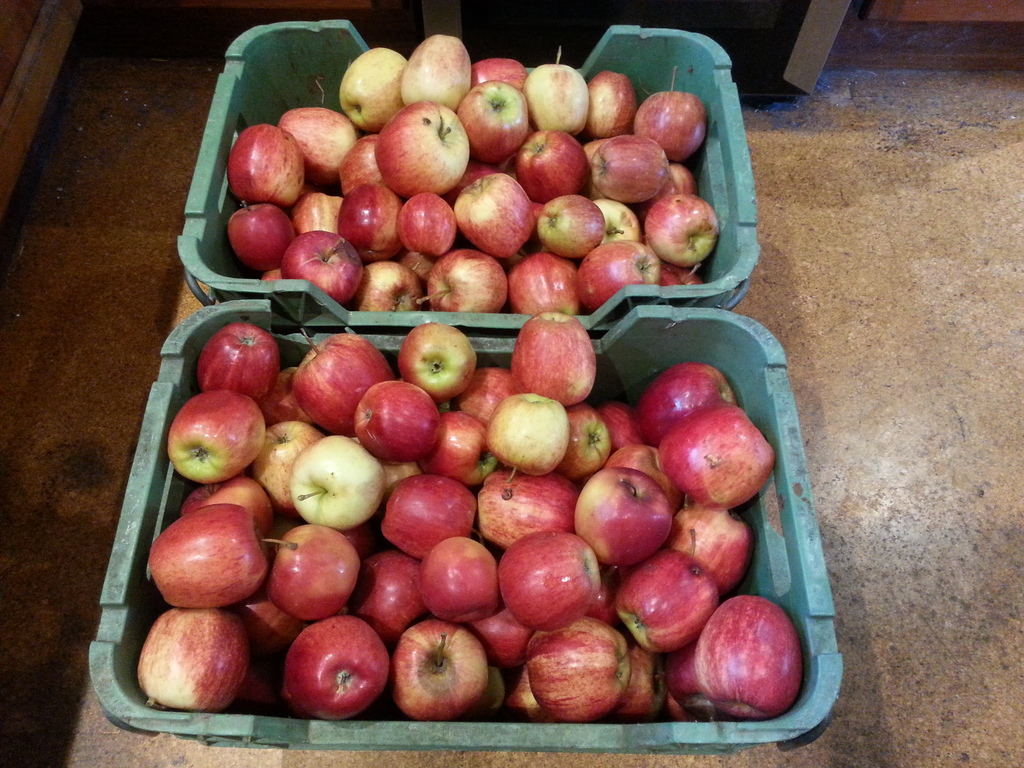
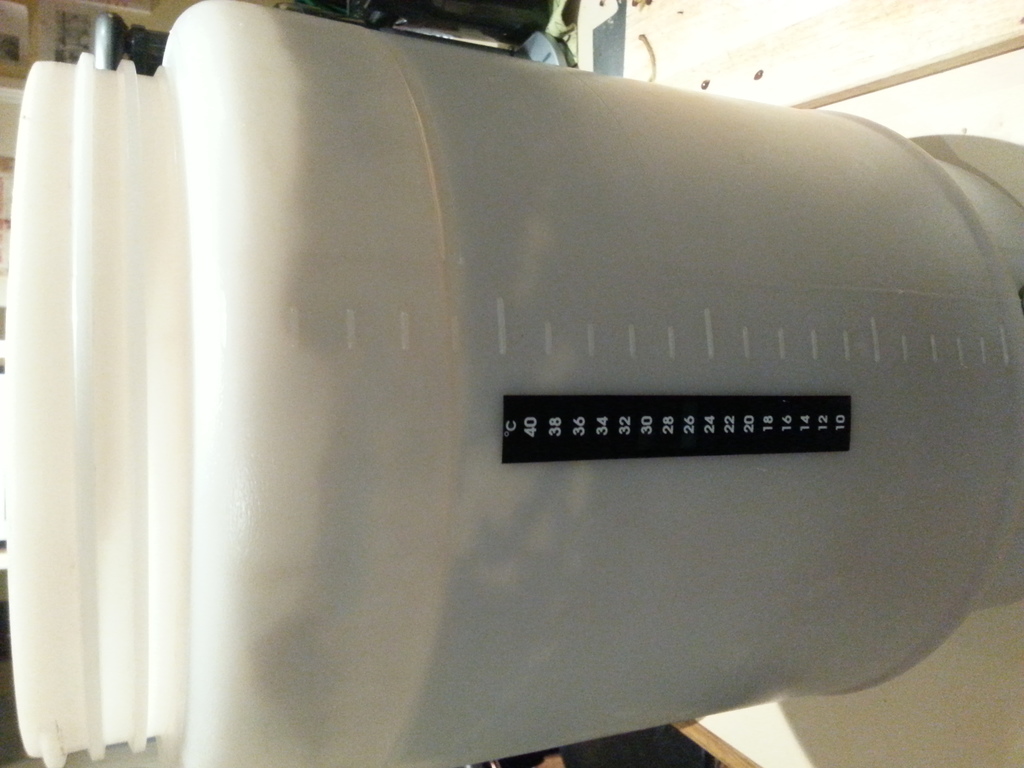
For larger batches you’ll need a 20-30 litre fermenter, and a couple of crates of apples:
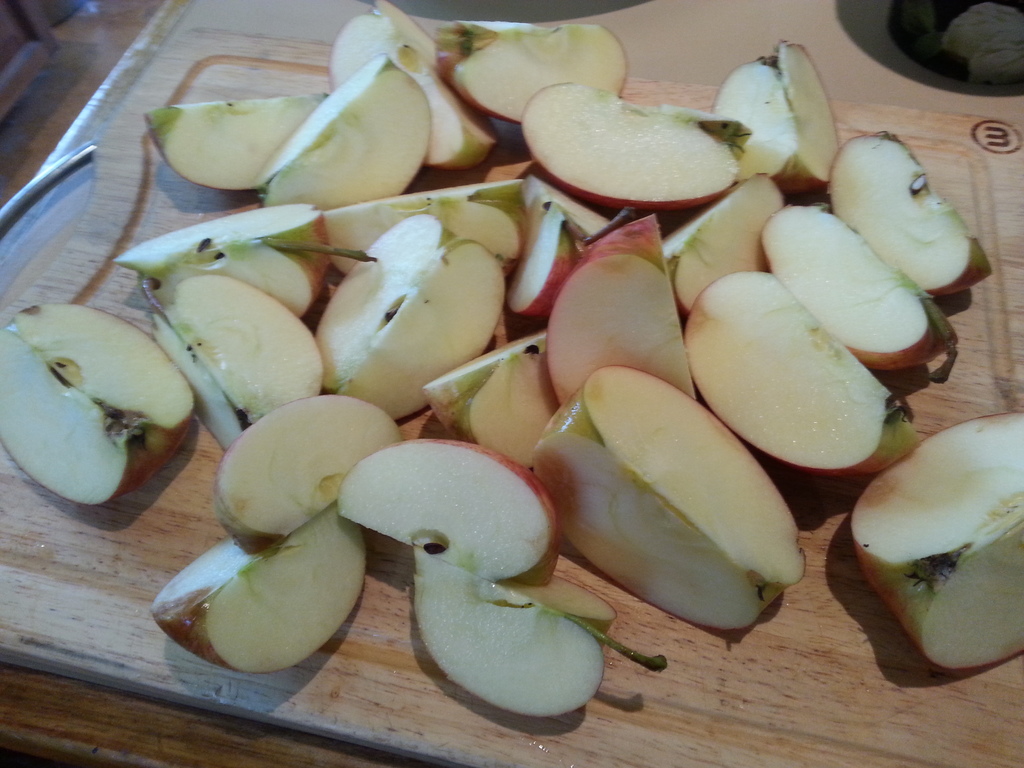
Chop the apples up if necessary to run them through a juicer, or, better yet, use an apple press, then fill up the fermenter with the juice. If you’re using a juicer, this will take a couple of hours…
…I tend to discard the apples that are totally brown throughout, but actually they’re probably OK to use too (we have a friend whose benchmark is “if it’s so squishy that your fingers slide into it, ditch it, otherwise it’s good”)…

…but eventually you will have a full fermenter with a layer of froth on top. The froth can be discarded to make way for more juice if necessary.

If you’ve already made this cider before, and kept the yeasty sediment from the bottom of the previous batch in the fridge, toss that in as well. The fermentation will start much quicker than if you wait for the wild yeast on the apples to wake up. Here’s some sediment I prepared earlier:

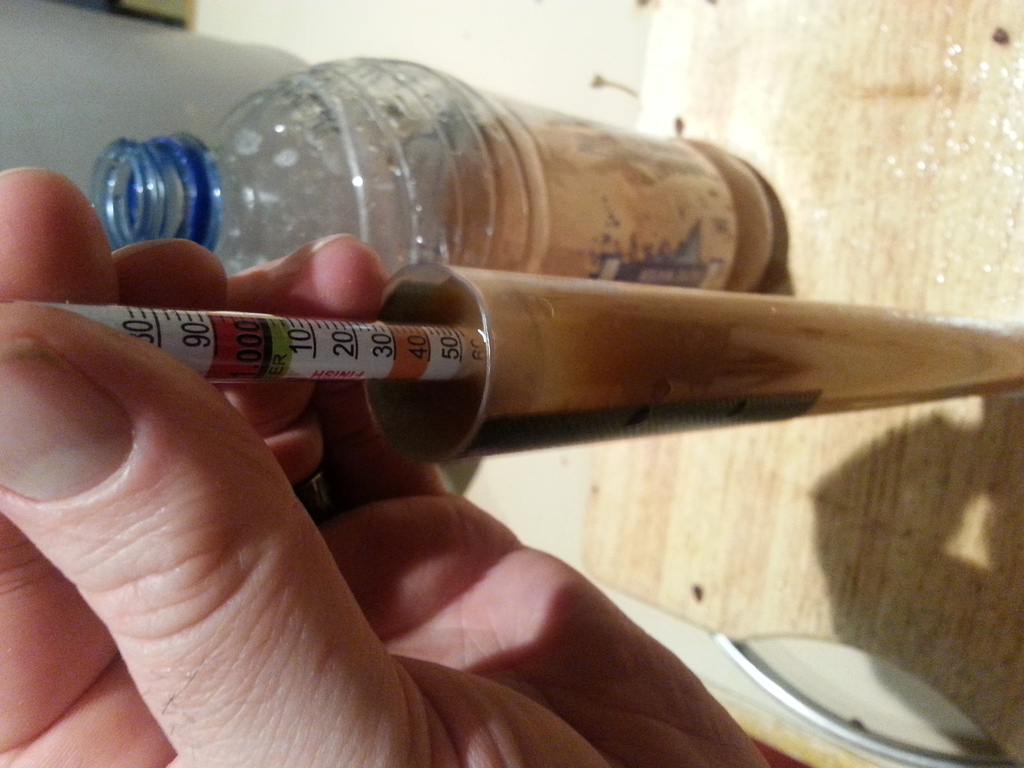
Once the fermenter is full, make a note of the specific gravity of the liquid using a hydrometer. This is necessary to calculate the approximate percentage of alcohol later. Here, we’re starting with a reading of 1050:
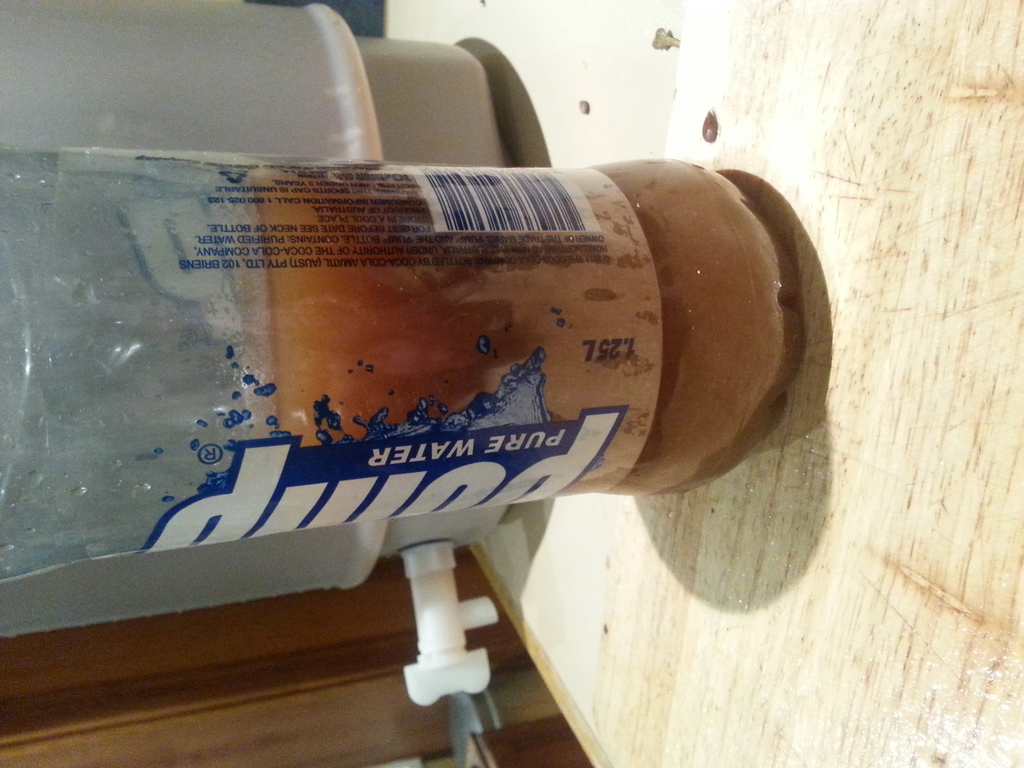
I’ve also tapped off a litre or so into a plastic bottle in order to see what happens during fermentation (this is optional, but fun):
Finally, put the lid on and fit the airlock. This allows carbon dioxide to escape during fermentation:

Now, wait a week or two. The airlock will start bubbling while fermentation occurs, and will eventually stop once fermentation is complete. It’s possible the bubbling might stop before it’s fully fermented out if any of the seals are dodgy, so the best thing to do is use the hydrometer again to check for a stable specific gravity over a couple of days.
Here’s the bubbling airlock (complete with those weird little insects that desperately follow deteriorating fruit):
And here’s what the liquid in the plastic bottle looks like while fermenting:
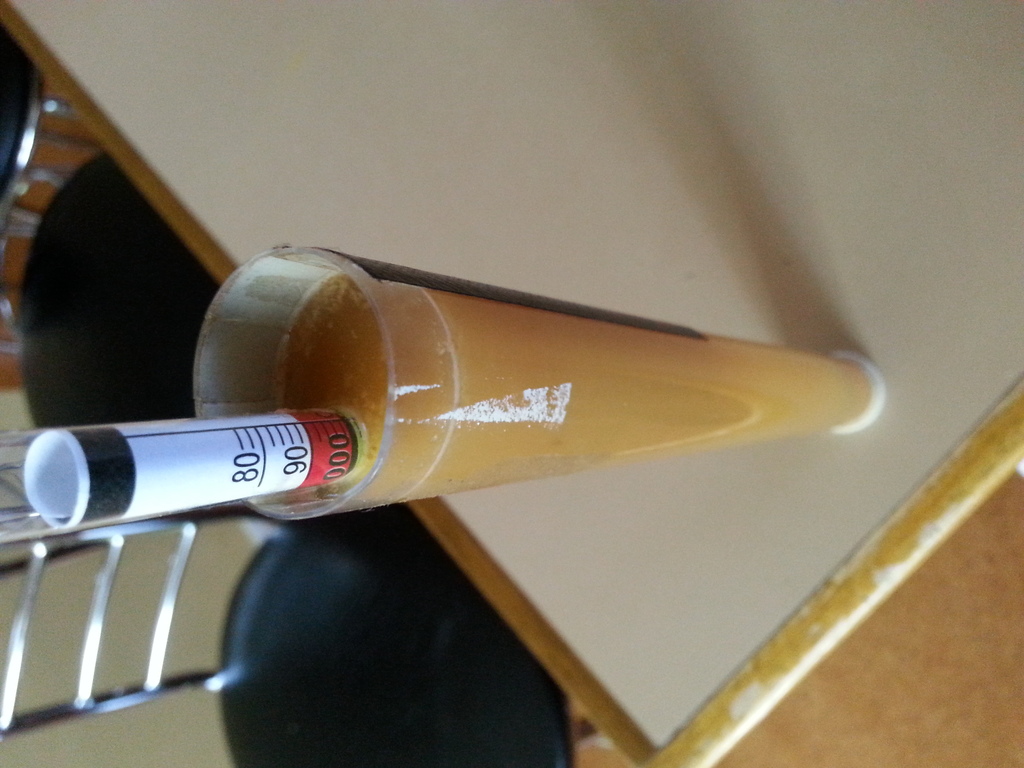
Finally, I’ve got a specific gravity of about 1002:
To calculate the alcohol percentage, according to the formula included with Coopers homebrew beer kits, you subtract the final specific gravity from the original specific gravity, then divide by 7.46 and add 0.5 to account for priming sugar added when bottling. In this case, that’s 1050 – 1002 = 48 / 7.46 = 6.43% + 0.5 = 6.93%. If you search around on the internet you’ll find different formulas for calculating ABV, but I’ve never managed to find the One True Formula, which suggests to me that brewing, like breadmaking, pickling, meat curing and most other forms of interesting food and beverage production is largely the result of art and magic, delicately seasoned with science and sometimes including a pinch of religion.
At this point, I’ve taken to racking the liquid off into another fermenter for a couple of days prior to bottling in order to remove most of the sediment, which provides a clearer end product:
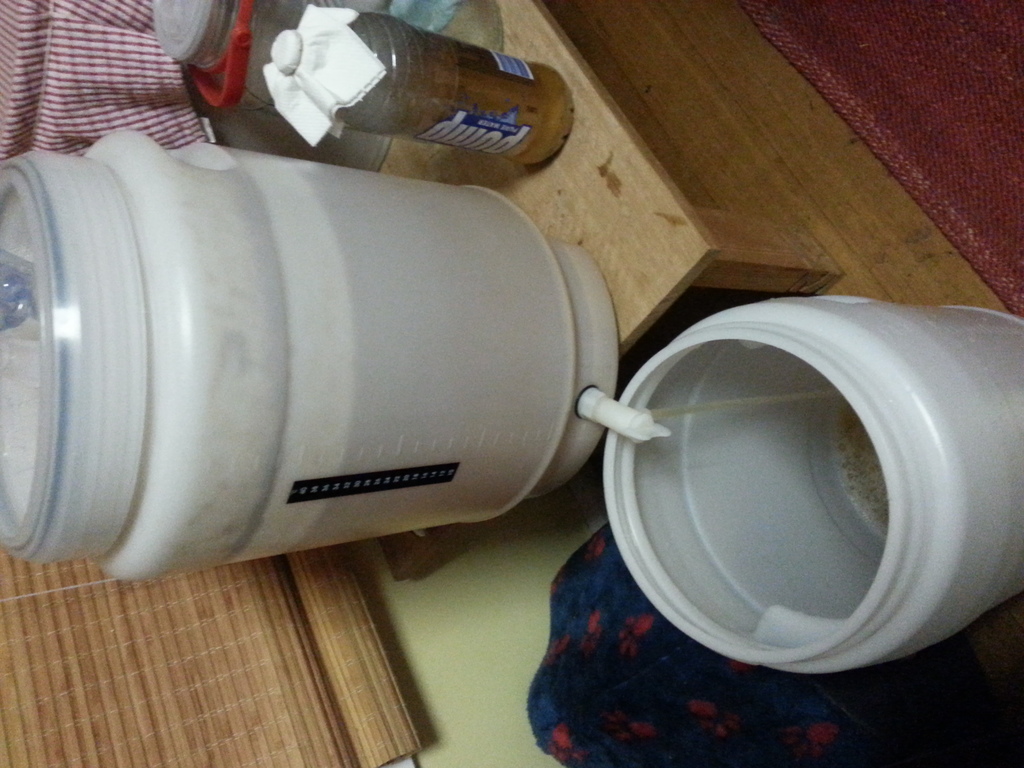
Here’s the yeasty goo at the bottom, which goes into the fridge to be used later to kickstart the next batch:

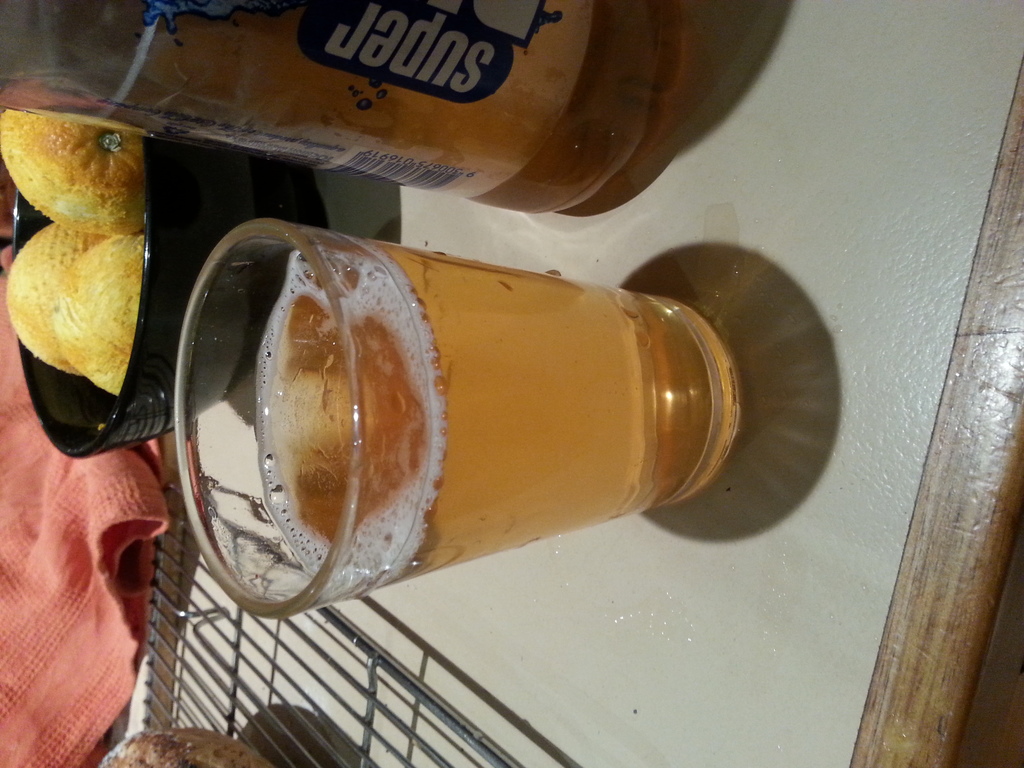
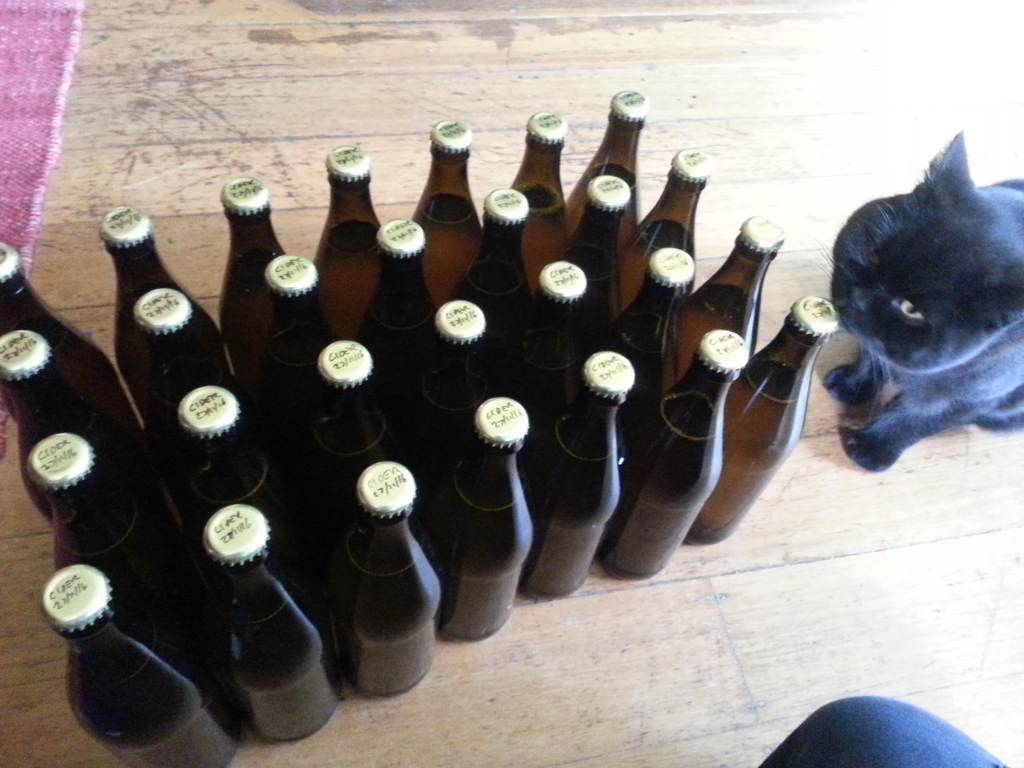
Finally, the cider is bottled in pints saved from a case of Schöfferhofer Hefeweizen. I use 0.5 tsp of white sugar for priming. After a couple of weeks in the bottle at room temperature, this results in a barely carbonated but quite lovely rough cider.
Down South Farm
Living Happy in Sunny Tasmania

You are truly a master craftsman when it come to procuring a traditional brew …. now to see how I may a acquire a bottle of said “rough cider”
Come visit, I have a pint left from the last batch. Or come visit later, and there will be more pints from the next batch 😉
You make it sound so easy! Yay for cider 😀 nice product control officer in the last shot!
Hi Tim, I was at the Poultry Husbandry course yesterday and was talking to you about rough cider. One of my batches has a grey mould covering, is this okay or should I chuck the batch. It has been in the container two weeks.
Hey Bob, good to hear from you 🙂
I’ve had a look through my notes from some previous batches, and I had two with some oddities on top, one with some white spidery stuff (different wild yeast?) and one with some obvious grey mould growing on the pulp floating on top. I ended up bottling both (after a cautious tasting), but took care to stop bottling before the stuff on top got down near the tap level, so none of it ended up in the bottles, and both batches came out fine. I did give the fermenter some extra cleaning after these batches with a bit of Domestos, just in case.
I’ve since come across a rather excellent post entitled Wild Yeast is Your Friend, which is admittedly about mead, but should apply for cider too. It suggests stirring a few times a day (at least early on in the ferment) which will apparently drown any moulds before they have a chance to grow. But, if you do end up with mould on the surface, the advice given in that post matches my experience:
Yeast produces alcohol from sugars as a defense mechanism against predators (bacteria and other microscopic nastiness).. So, clean away any top mold as it is outside of the “alcohol zone”, filter and enjoy.
Thanks, Felisha Matlock for downsouthfarm.com
Did a 23litre batch this year from mixed dessert apples grown in Devon. I found that more juice is obtained by scrattering the apples before pressing. There are expensive tools for this but there is also a very cheap method, at £19 called a scratter bucket. This is essentially a flat bladed tool which sits on the end of an ordinary drill, and of course a plastic bucket. Basically it smashes up the cut apples before pressing- and really helps with juice quantity. For pressing, I found a £40 apple press in Lidl! It needed a few more blocks making, and you only get good results if you bolt or screw it tight onto a concrete floor so that you can get some real welly on it. By this method i got 23 litres of SG1060 (that was 2022 hot summer for you) juice in one afternoon, Wear (gardening?) gloves when cutting the apples up! But here’s where i do it slightly differently: I find it is worth washing the apples first, a big bucket of water, to remove the yeast, and then i buy alcohol tolerant cider yeast. It is a natural product, It literally costs pennies for packet and the results are amazing. Fermentation took 10 days at 16- 18C. Never go warmer than this. I got it down to SG0.994. No residual sugars, about 8% ethanol, no fusil oils, self clearing and ok even for diabetics like me! 2022 was an exceptional year, normally the juice would be SG1050ish.
A very quick question.
We’ve used this recipe for several batches of cider and the results have been excellent. In the article you mention using the “yeasty goo” to kick start the next batch. We’ve had some “yeasty goo” from the start of the year, kept in the fridge. Is it ok to use this as a starter now?
Cheers
JW
Delighted to hear you’ve had good results 🙂 I’m not sure how long the “yeasty goo” keeps. I kinda assume semi-indefinitely under refrigeration. If there’s any mold or nasty slimy stuff growing I’d suggest getting rid of it. Otherwise if it smells OK (like happy yeast, or fruit, or alcohol, but NOT like an old boot) I’d be inclined to try it.
Cheers,
Tim
Thanks Tim.
The residual cider that was left after the sediment settled tasted fine and the “goo” smells very yeasty, so we’ll give it a go. First batch of the year, 15kg of Adam’s Pearmain apples yielding 10l of juice. We’ve not had a good crop of these apples before, so it will interesting to see how the cider compares to earlier batches.
JW
Had some fun trying our own version of rough cider in Northumberland from trawling various methods. We have one tree which made around 3 pints – hopefully enough for a bit of fun at Christmas.
https://www.rubykitchen.com/post/rough-cider
We also made ginger beer which was a whole different adventure.
https://www.rubykitchen.com/post/ginger-beer
If you have any good recipes to share ping them over and we will share on our site – we will put your name on it etc. I’m off next to make something with plums that are the size of tennis balls!!