We live on a fairly steep hill. The house is slightly more than 340 metres above sea level, and there’s a large dam half way up the length of the property, at an altitude of about 370 metres. Some clever person installed a run of one inch diameter poly pipe from the dam down to the house with various tap fittings along the way, so we’re able to use gravity fed dam water in troughs for animals, and to water the garden beds, and even inside the house to flush the toilets (which is much better than wasting potable tank water).
Given the abysmal rainfall in recent months, the dam is the lowest we’ve ever seen it. The last time it got close to this low was during what I like to call the “eight month summer” of 2012-2013. So the water level has been receding towards the intake for the pipe that goes down the hill, and that intake was only a couple of metres from the edge of the dam, and sitting on the dam floor where all the silt, sediment and weeds live. On the Easter long weekend, while watering down by the house, the feed from the dam stopped. The water pressure had actually been poor for some time, but it was then that we completely lost the siphon action. Time for a new dam intake.
The existing intake consisted of a bucket with holes drilled in the lid, containing a fish pond filter, with a tap and pipe coming out the top. There were rocks in the bottom of the bucket to weigh it down.
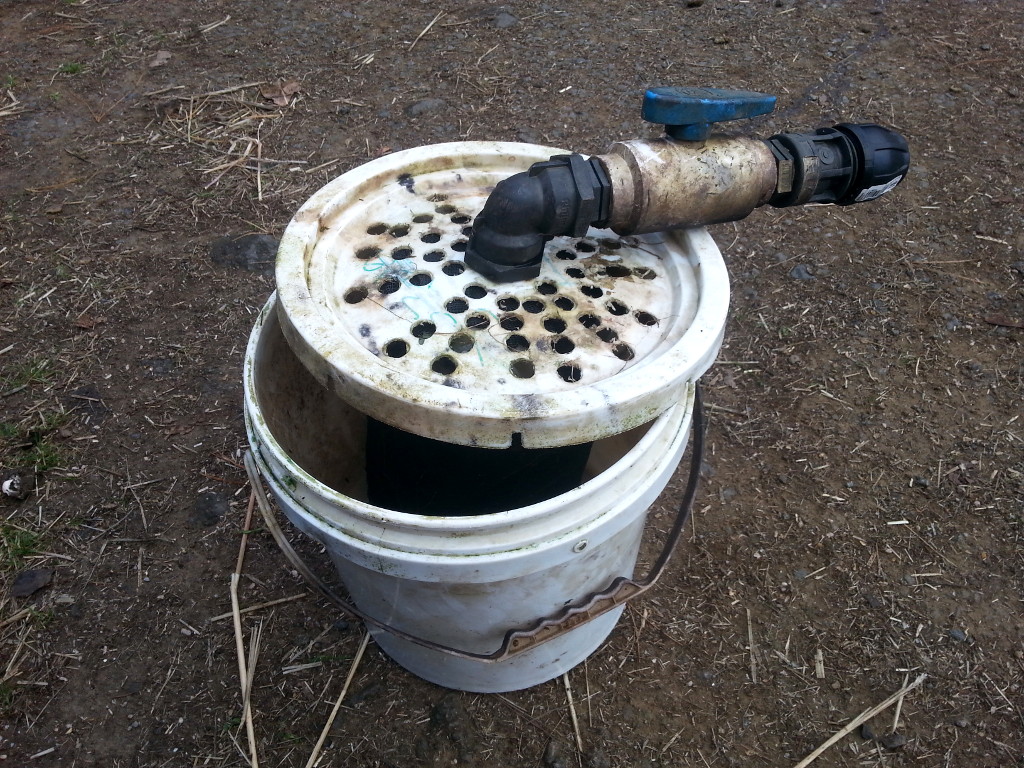 This is not ideal. Really, you want the intake to be close to the surface of the water where crap won’t get sucked up, so we went and bought a 200mm polystyrene float and a foot valve, which looks a bit like this. That’s probably not the exact model I purchased, but you get the idea – it’s a grille over a ball valve with a spring, which allows water to be sucked out of the dam, but if you have to pull the intake out of the dam to clean or inspect it, the valve won’t let water flow the other way, so you don’t risk losing the siphon.
Conveniently we had an extra length of 1″ poly pipe lying around, so I attached the foot valve and float to the end of that and was able to extend the feed further out into the middle of the dam. Turns out I did need to lash a small rock to the end of the pipe to hold the foot valve under the water, but it’s now just slightly below the surface as opposed to slightly above the dam floor, so the water is much cleaner.
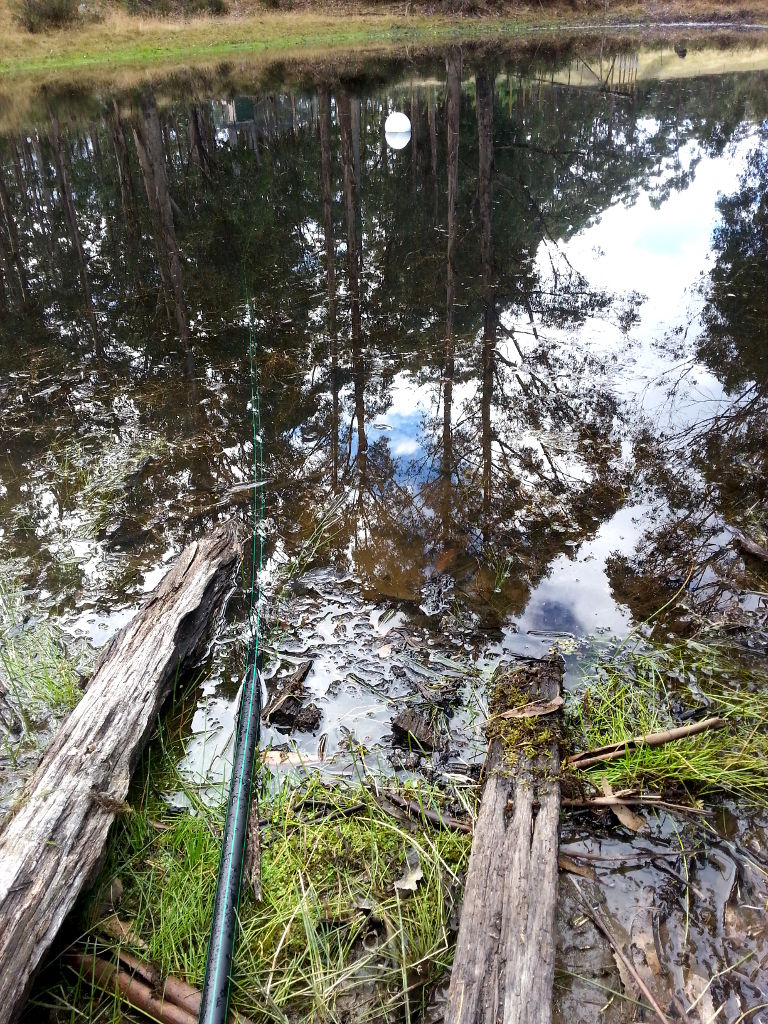 In the above photo, the white ball is the float. For comparison, the old bucket intake was pretty much where the end of the left-hand chunk of wood is.
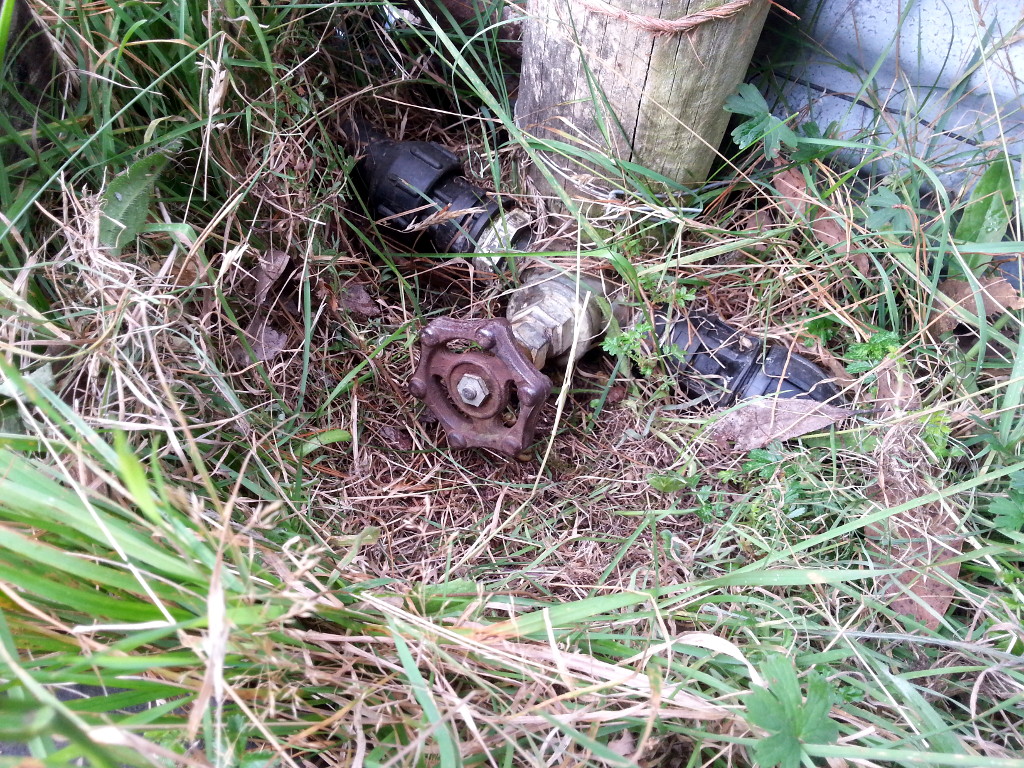
Then came the fun part — restarting the siphon. There’s a gate valve a little way north of the house above all the other taps that feed off the dam pipe, so I closed that, then went back up to the dam.
 The pipe that leaves the dam goes over a rise, but there’s a convenient join in the middle, so I disconnected the pipe there, and we put a funnel made from an old juice bottle into the pipe that runs down the hill. Morgan held this end up high, while I got buckets of water from the dam and poured them into the funnel to re-fill as much as we could of the ~170 metres of pipe. The amazing part about this is how the water behaves. You start pouring it in, it slowly goes down the funnel and disappears. Then a few minutes later there’s gurgling noises as air works its way back up the pipe, half the water you poured in is forced back out of the pipe into the funnel, then it all subsides again. It’s actually a lot of fun, and of course you end up soaking wet due to various minor mishaps.
Once we figured no more water was going down the pipe, we reconnected it to the intake at the top of the rise, then I went back down to the house, opened the main gate valve, turned on a hose, and water… came… out… very… slowly… There was sporadic coughing and spluttering from the pipes as air shunted around, but I was worried we hadn’t put enough water in to kickstart the siphon properly. So I went to the filter a few metres down from the main gate value and unscrewed the bottom cap.
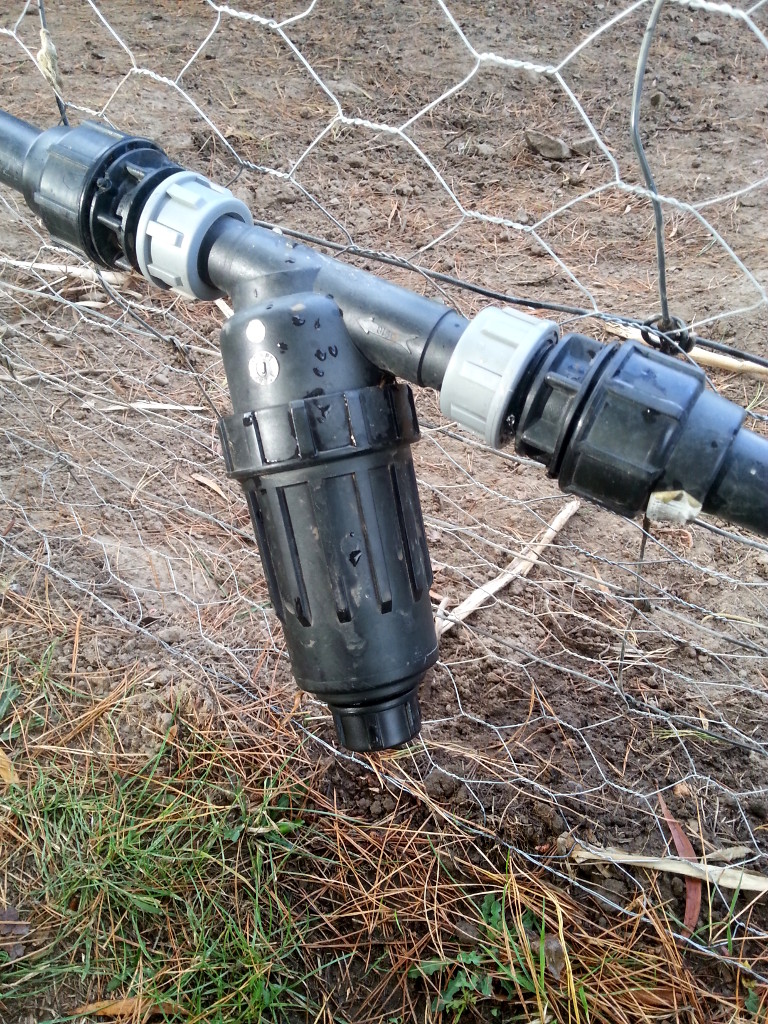 This presumably created the clearest, widest flow of water/suction possible. When the flow slacked off, I put the palm of my hand over the bottom to seal it and waited until the water pressure built up again. Once this became slightly uncomfortable, I removed my hand and water blasted out. I had to repeat this maybe half a dozen times until (I assume) all the air was bled and proper pressure restored.
Then it was back down to test the lower taps on a couple of garden beds, which showed better water pressure that we’ve seen any time in the last few years. I call that a win.
For my next trick, I’ll replace the main gate valve. The damn thing seems to have developed a small drip.
Tag Archives: Projects
Yeah, I Can Do That
There’s a spring-fed dam down the bottom of one of our paddocks which used to have plenty of water, and a few bulrushes. After what I’ve dubbed the “eight month summer” from October 2012 to May 2013 (i.e. eight months of below average rainfall), most of the water in the dam was gone, and there were rather more bulrushes. Flash forward to the end of last summer (approximately February 2015), and we had all the bulrushes and no bloody water.
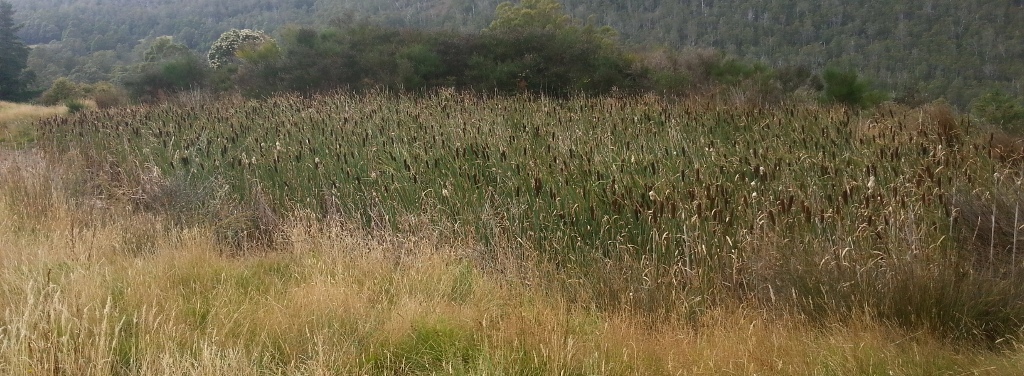 We figured either the dam was leaking, or the bulrushes were drinking up the water. Seeing as there wasn’t any water in the dam, I though it’d be an ideal time to pull the bulrushes out; relatively easy access, and once we get some more rain through winter, we’ll be able to figure out what the dam is doing one way or another. Having pulled out a small patch of bulrushes over the course of ten minutes or so, I thought to myself: how hard could it be? (The astute observer will note that this is a weak form of the deadly old rhetorical “what could possibly go wrong?”)
For those who have never experienced bulrushes first hand, they are a reed up to a couple metres tall, with a stalk anywhere between 3-10cm at the base, and as far as I can tell, they grow in maddeningly sticky mud. Apparently parts of them are directly edible, you can use them to make flour, and I suspect you can even brew beer from the roots with some effort, but that’s a project for another time. Any individual bulrush is not too much of a pain to pull out of the ground, assuming some upper body and/or arm strength. So I decided to spend half an hour each morning pulling ’em out, and dropping them in place, so I could stand on the resultant reed mass to get to the ones in the middle of the dam where the ground becomes seriously boggy. Here’s a photo of the swathe I cut down the north side of the dam over the first day or two:
 It’s important to note that we don’t own any heavy machinery suitable for this task, so the entire job was done solo, by hand, in gumboots and gloves. After about a week, it was starting to look like an impressive impact (note – this photo is facing back the opposite direction from the previous photo):
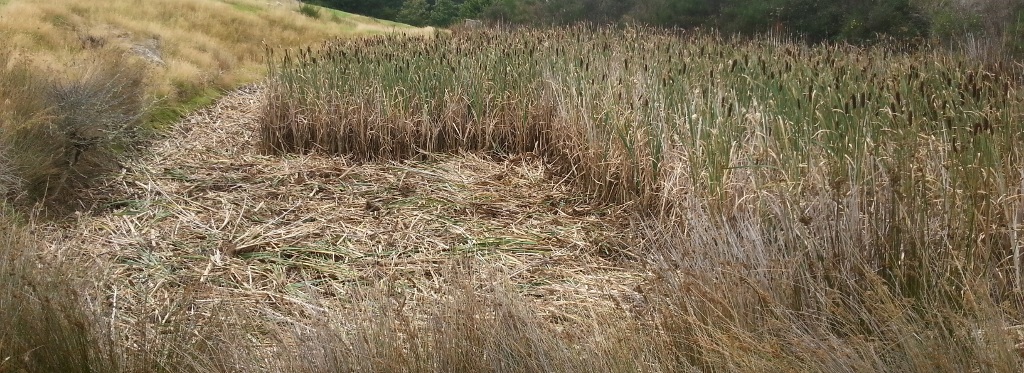 After two weeks I got bored with dropping flat areas, and decided to make a few paths to liven things up:
 After about three weeks, I had the whole lot down, if you ignore a couple of small patches above dam height that are embedded in blackberries:
 The next task was to get all that crap out of the dam. Again, handwork (just drag the damn bulrushes outta there), but I did find a heavy rake useful. Later, after the rake broke, I resorted to a hoe for lighter dragging. Here’s the middle of the dam after a few days:
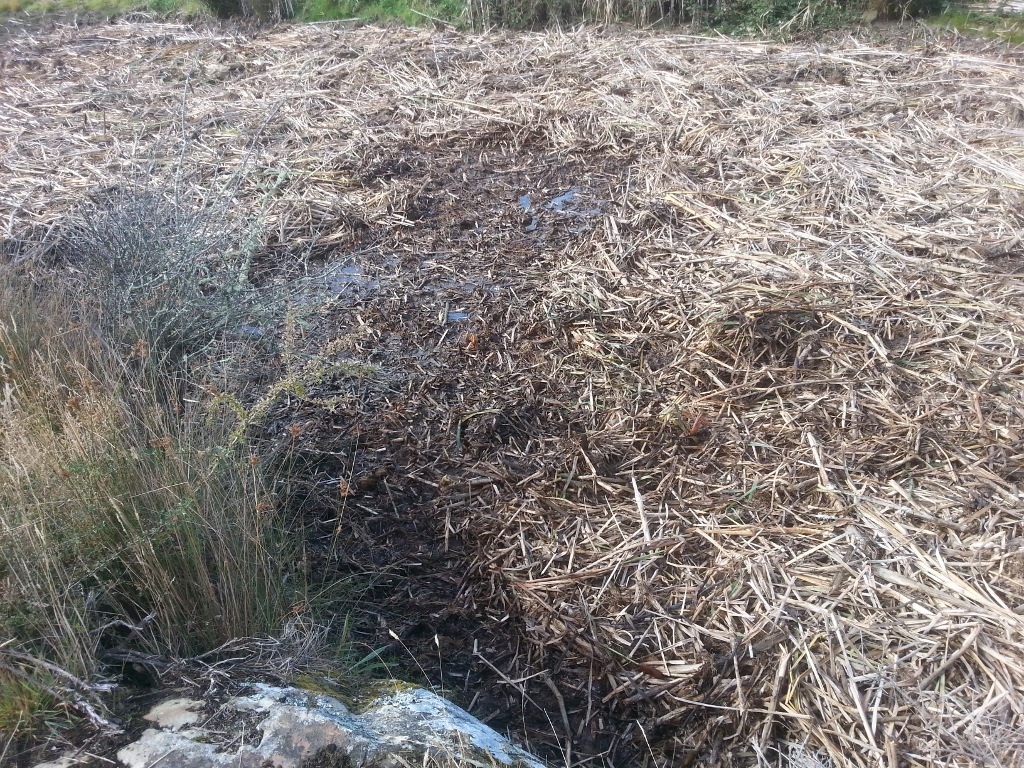 And after about another week:
 There were frogs and spiders. I managed to photograph one of the frogs:
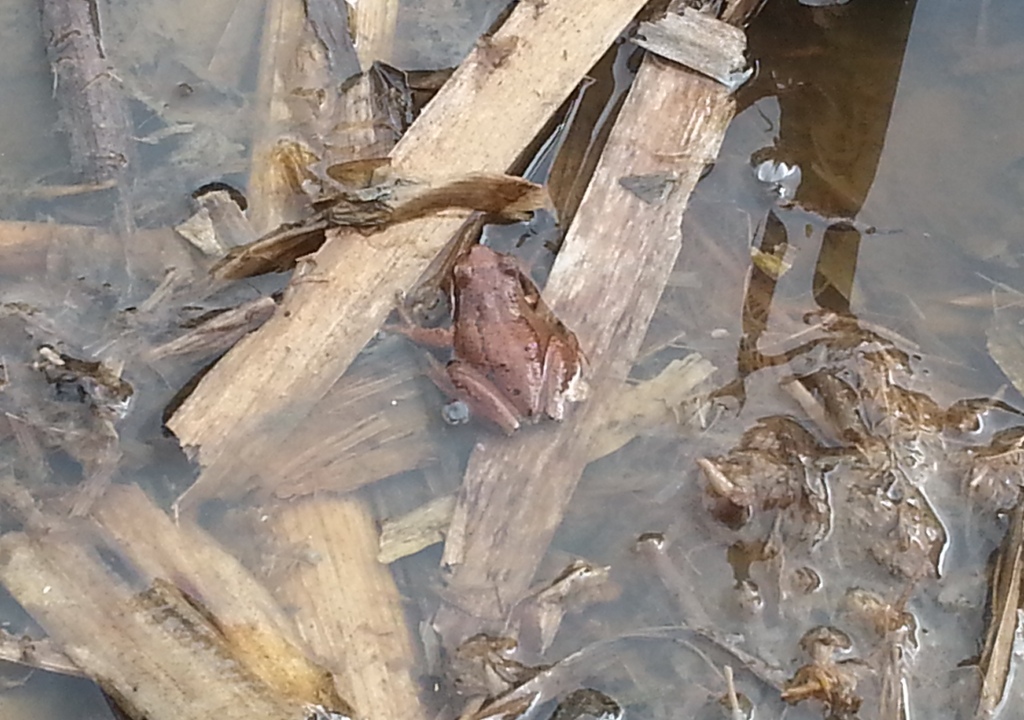 Finally, after seven weeks in total:
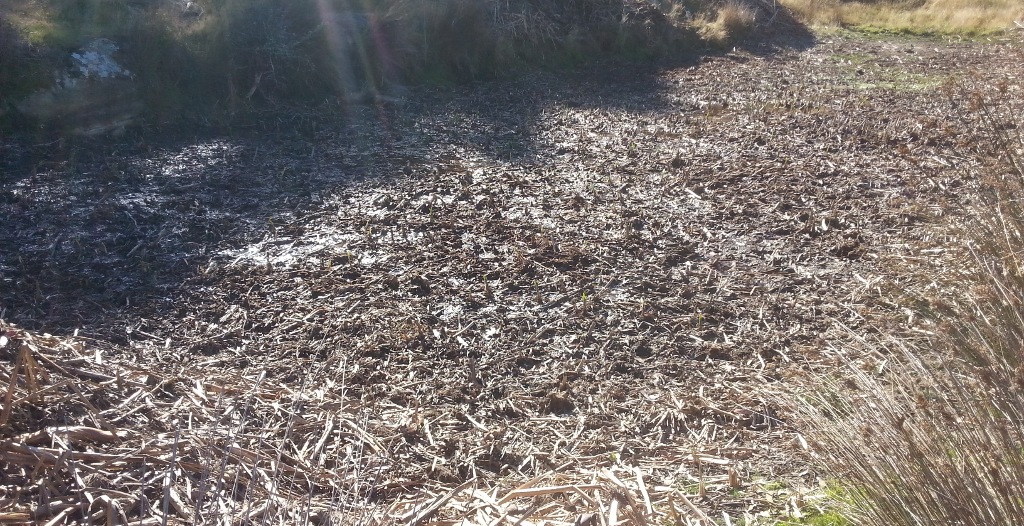
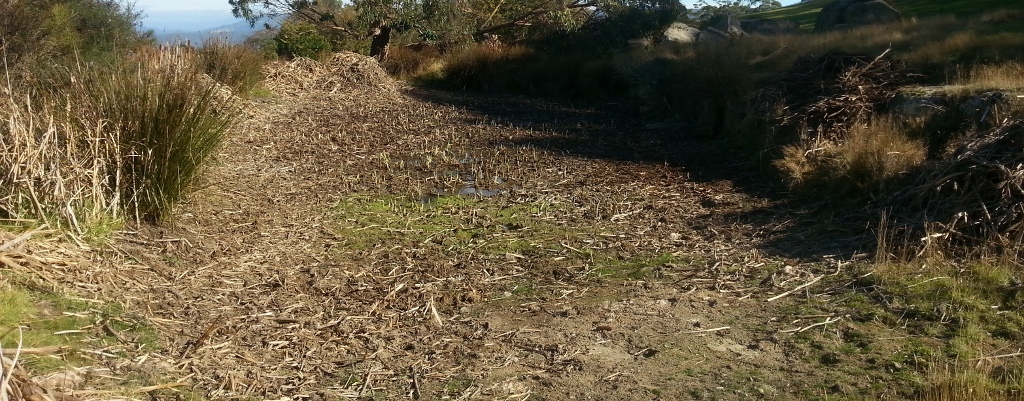 It’s basically clear now; there’s a smattering of bulrushes attempting to regrow, but I have high hopes that it should at least be manageable now if we keep on top of it.
It sounds pretty impressive to say this was a forty-nine day project, but it was actually “only” about twenty-five hours work. On the other hand, if I’d attempted to do the whole twenty-five hours back to back, I’d probably be dead now.
In other news, we have several piles of semi-dried bulrushes:
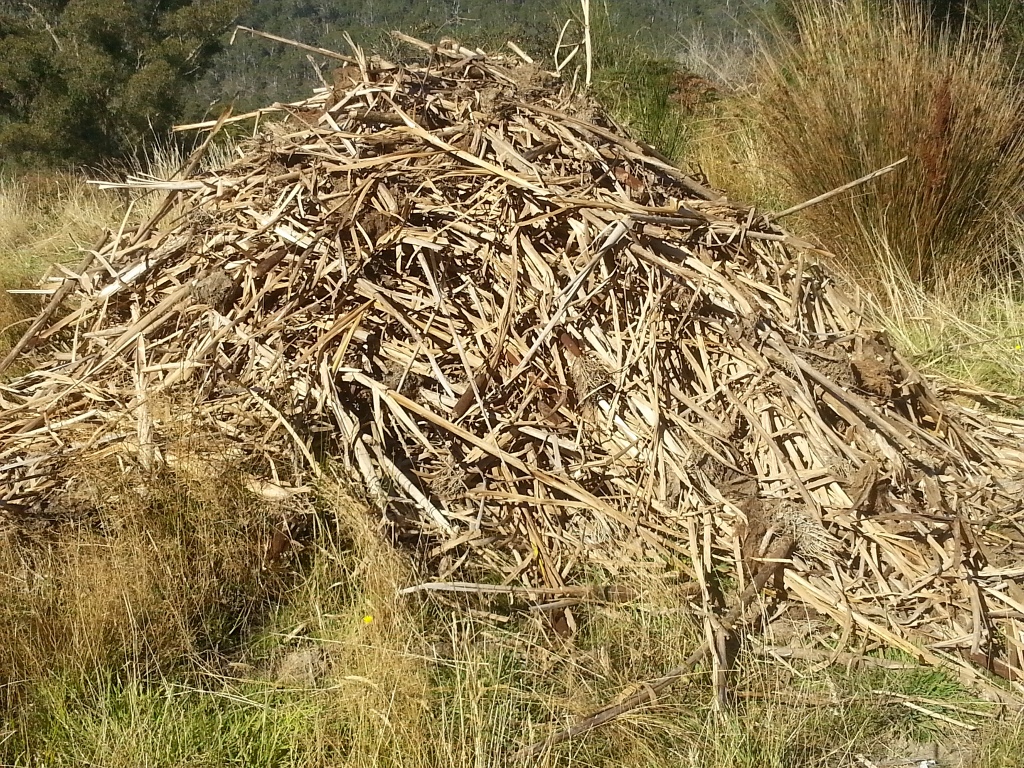 Possibly we should investigate basket weaving.
