Water is one of the essentials of farm life. It is also one that we tend to take for granted, especially here in southern Tasmania, renowned as it is for being cold and wet. However the times they are a changin’, and much that once was is lost. This image shows the sad state of our rainfall for the last five years. i.e. an ever diminishing curve, interspersed with extreme events.
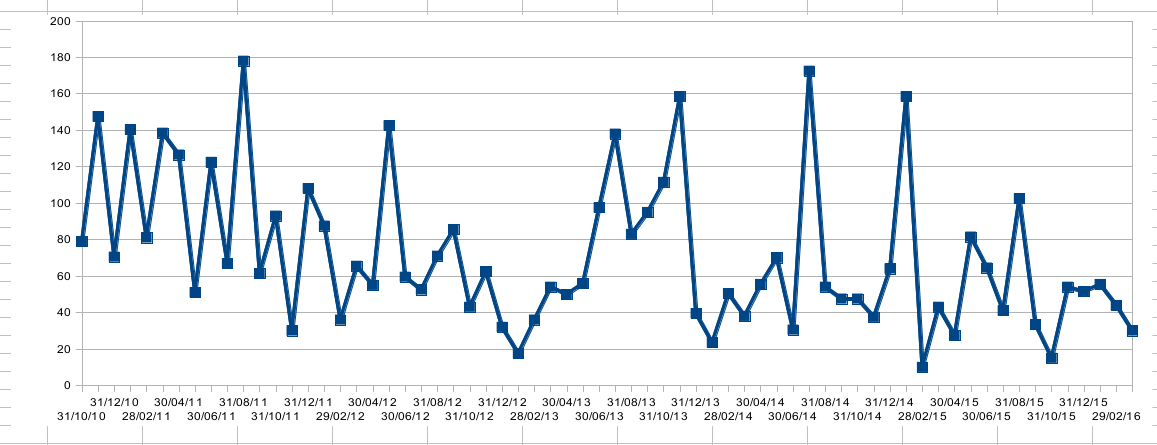
But graphs are hard to parse. So here are some images that show what the numbers translate to in real life.
August 2015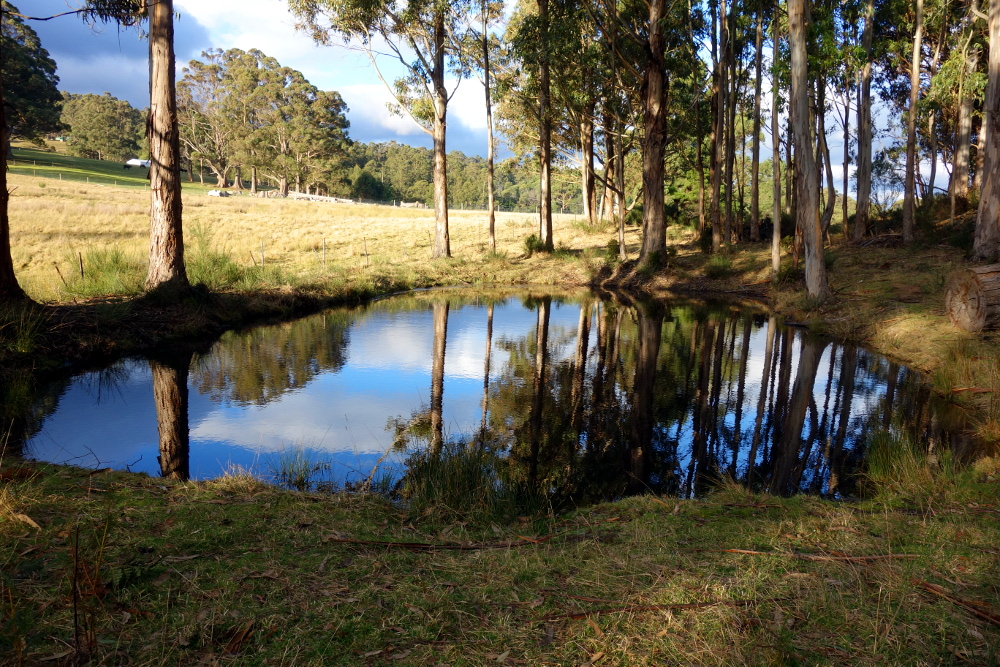
January 2016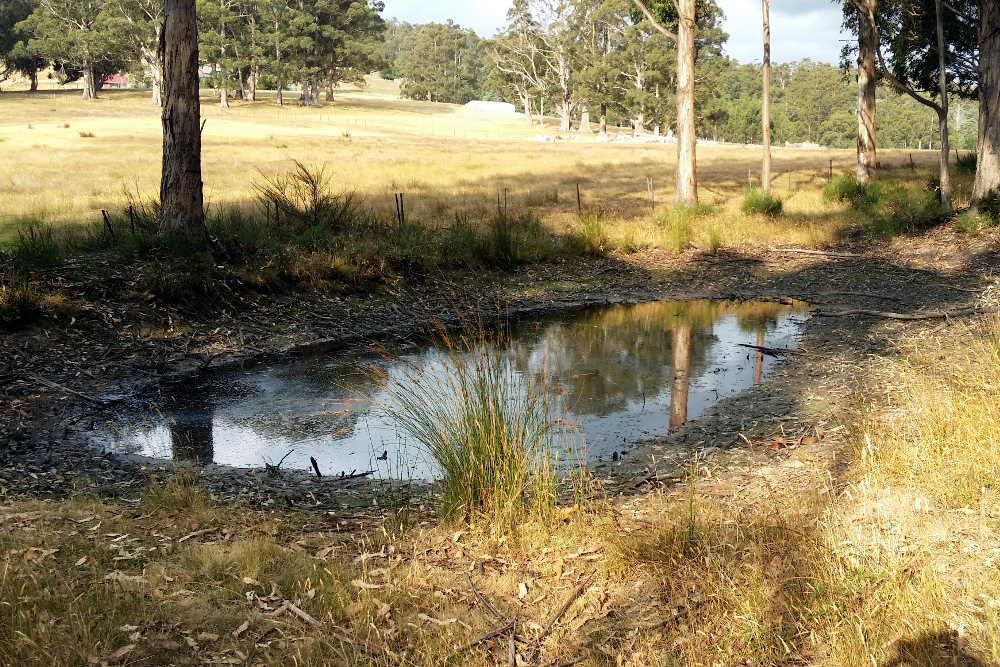
April 2016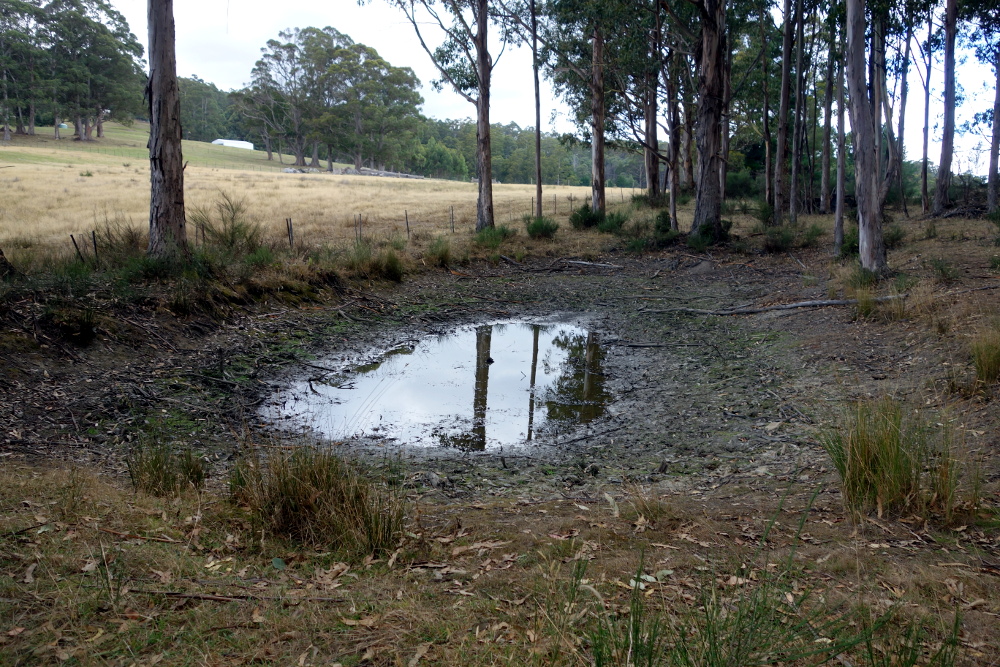
So, basically, doom. Fortunately this is only one of our three dams. Unfortunately only one of the other two, our largest dam, from which we get water to flush our toilets and to water the garden, still has water in it. It is however at the lowest level we have ever seen it, and shrinking rapidly.
We are in a much better position than many of our neighbours. One reason is that we are at nearly 400 metres elevation. Because of this it is a bit cooler than in the valley and we get some moisture from clouds that are passing even if they don’t rain as they have to rise over our hill to continue on their journey eastward.
Another reason is we don’t have much stock. On our ten hectares, 25 acres in the old money, we have six sheep, two miniature cows, two pigs and all the chickens. The cows and two of the sheep are here as refugees. They belong to my sister who lives lower down in the valley and who consequently has no grass at all. Next month we will be getting our own miniature cow, but still that is not a lot of load for the land.
Because we don’t have a heavy load of stock we were able to make hay. We got about a third of the hay we grew last year due to the lack of rain. Hay was in very high demand this year as no one else grew as much as usual either. Because of our stocking rate we actually need very little hay for winter. Only if someone is confined to a shed for say, lambing, and we have to feed them will we need hay. This meant we were able to swap our hay for straw, which was also in high demand due to the lack of rain. We need straw for bedding for the pigs, they need to be kept warm and dry in winter, and for flooring and nest lining for the chickens. Pigs will also eat barley straw. For the rest of the animals there should be enough grass to keep them going through the winter, unless we don’t get any rain before it gets so cold the grass stops growing for winter…
A Dam Intake That Doesn't Suck
We live on a fairly steep hill. The house is slightly more than 340 metres above sea level, and there’s a large dam half way up the length of the property, at an altitude of about 370 metres. Some clever person installed a run of one inch diameter poly pipe from the dam down to the house with various tap fittings along the way, so we’re able to use gravity fed dam water in troughs for animals, and to water the garden beds, and even inside the house to flush the toilets (which is much better than wasting potable tank water).
Given the abysmal rainfall in recent months, the dam is the lowest we’ve ever seen it. The last time it got close to this low was during what I like to call the “eight month summer” of 2012-2013. So the water level has been receding towards the intake for the pipe that goes down the hill, and that intake was only a couple of metres from the edge of the dam, and sitting on the dam floor where all the silt, sediment and weeds live. On the Easter long weekend, while watering down by the house, the feed from the dam stopped. The water pressure had actually been poor for some time, but it was then that we completely lost the siphon action. Time for a new dam intake.
The existing intake consisted of a bucket with holes drilled in the lid, containing a fish pond filter, with a tap and pipe coming out the top. There were rocks in the bottom of the bucket to weigh it down.
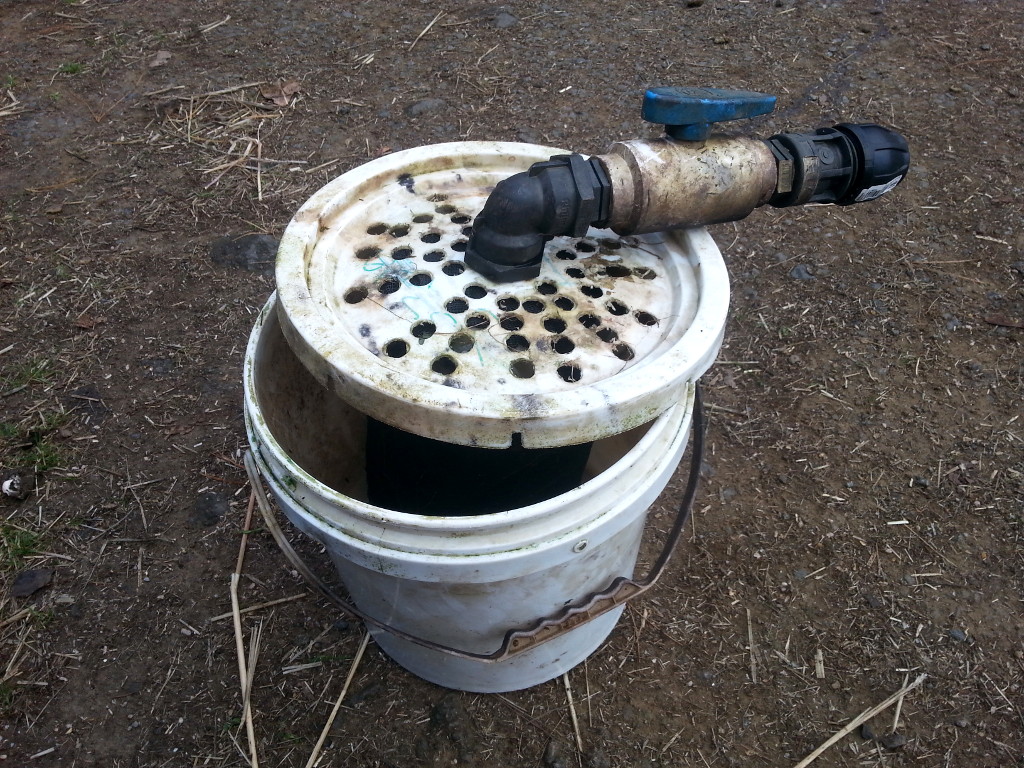 This is not ideal. Really, you want the intake to be close to the surface of the water where crap won’t get sucked up, so we went and bought a 200mm polystyrene float and a foot valve, which looks a bit like this. That’s probably not the exact model I purchased, but you get the idea – it’s a grille over a ball valve with a spring, which allows water to be sucked out of the dam, but if you have to pull the intake out of the dam to clean or inspect it, the valve won’t let water flow the other way, so you don’t risk losing the siphon.
Conveniently we had an extra length of 1″ poly pipe lying around, so I attached the foot valve and float to the end of that and was able to extend the feed further out into the middle of the dam. Turns out I did need to lash a small rock to the end of the pipe to hold the foot valve under the water, but it’s now just slightly below the surface as opposed to slightly above the dam floor, so the water is much cleaner.
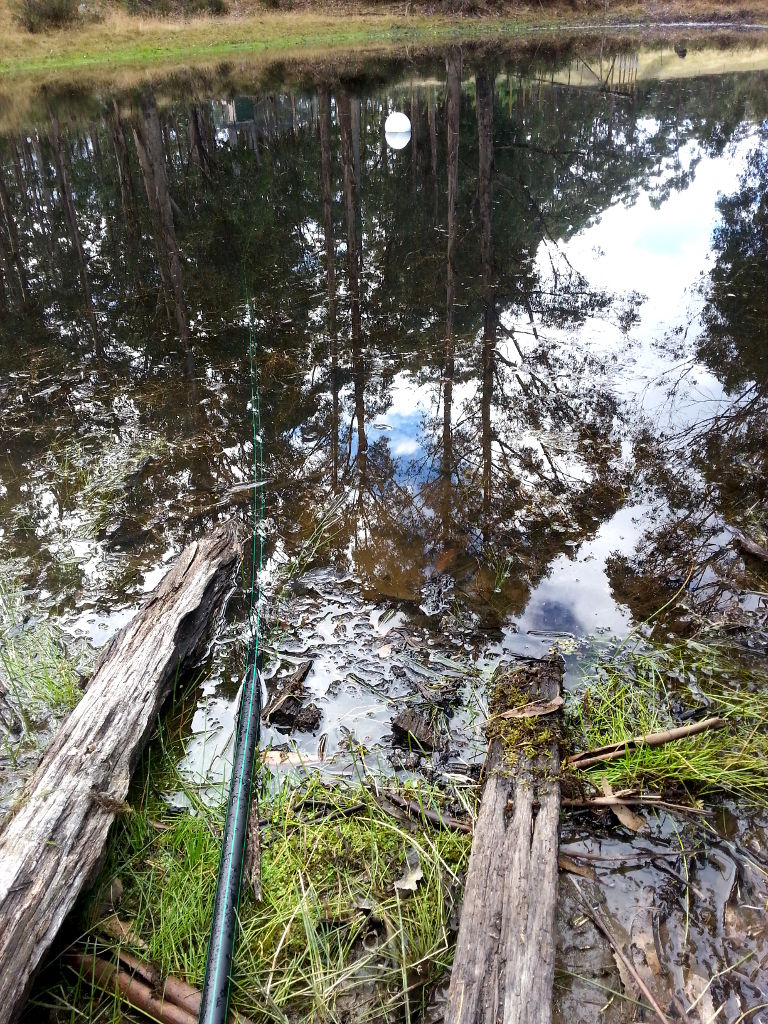 In the above photo, the white ball is the float. For comparison, the old bucket intake was pretty much where the end of the left-hand chunk of wood is.
Then came the fun part — restarting the siphon. There’s a gate valve a little way north of the house above all the other taps that feed off the dam pipe, so I closed that, then went back up to the dam.
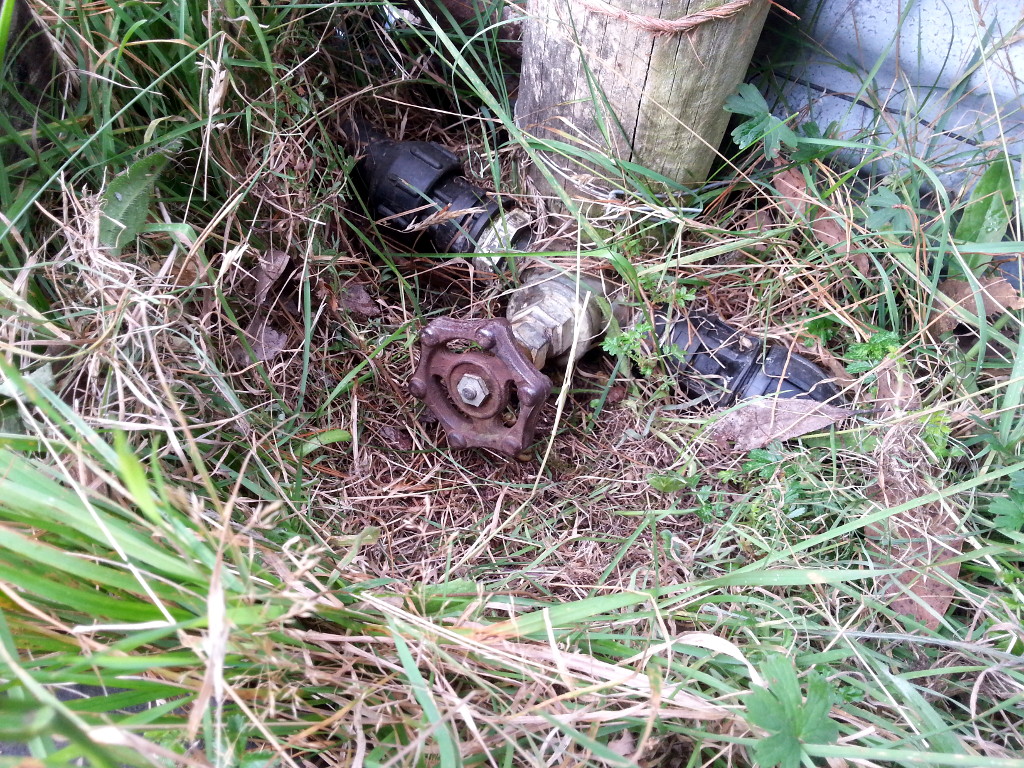 The pipe that leaves the dam goes over a rise, but there’s a convenient join in the middle, so I disconnected the pipe there, and we put a funnel made from an old juice bottle into the pipe that runs down the hill. Morgan held this end up high, while I got buckets of water from the dam and poured them into the funnel to re-fill as much as we could of the ~170 metres of pipe. The amazing part about this is how the water behaves. You start pouring it in, it slowly goes down the funnel and disappears. Then a few minutes later there’s gurgling noises as air works its way back up the pipe, half the water you poured in is forced back out of the pipe into the funnel, then it all subsides again. It’s actually a lot of fun, and of course you end up soaking wet due to various minor mishaps.
Once we figured no more water was going down the pipe, we reconnected it to the intake at the top of the rise, then I went back down to the house, opened the main gate valve, turned on a hose, and water… came… out… very… slowly… There was sporadic coughing and spluttering from the pipes as air shunted around, but I was worried we hadn’t put enough water in to kickstart the siphon properly. So I went to the filter a few metres down from the main gate value and unscrewed the bottom cap.
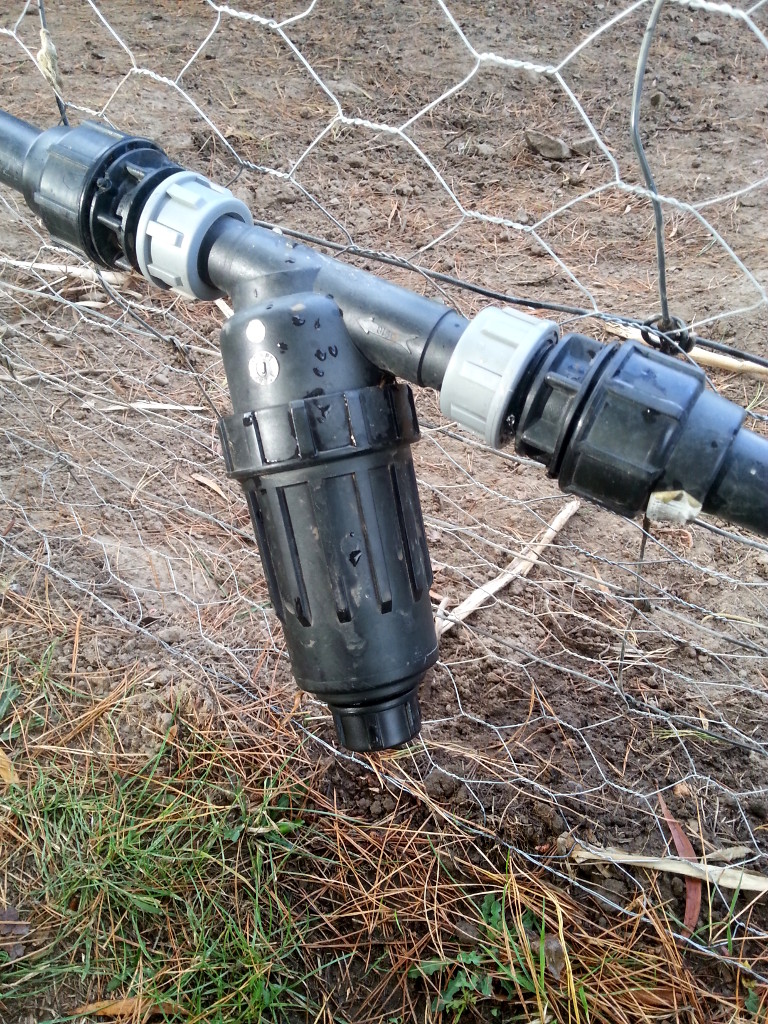 This presumably created the clearest, widest flow of water/suction possible. When the flow slacked off, I put the palm of my hand over the bottom to seal it and waited until the water pressure built up again. Once this became slightly uncomfortable, I removed my hand and water blasted out. I had to repeat this maybe half a dozen times until (I assume) all the air was bled and proper pressure restored.
Then it was back down to test the lower taps on a couple of garden beds, which showed better water pressure that we’ve seen any time in the last few years. I call that a win.
For my next trick, I’ll replace the main gate valve. The damn thing seems to have developed a small drip.
Hatching Eggs – The Broody Hen
So you have decided to hatch some chicken eggs and keep chooks. Whether you are doing it for purely utilitarian reasons, educational reasons or because you have a terrible chicken addiction (I may possibly fall into this last category) there are a few important basics to get your head around.
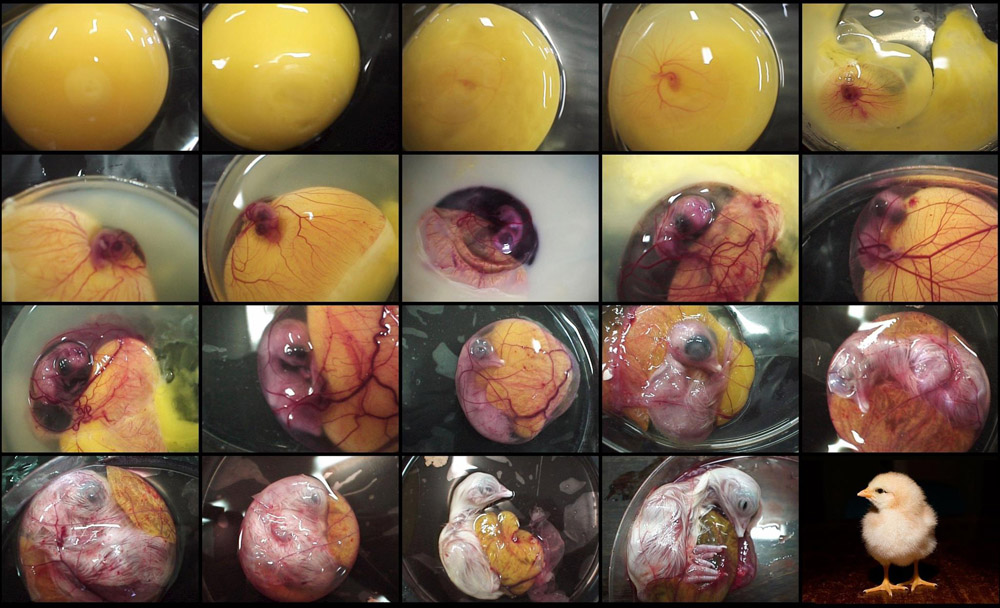
To hatch eggs you are going to need either a reliable broody hen or an incubator. Sadly Barnevelders, despite being the best chickens in the world from every other perspective, do have the slight failing that they do not have a great propensity for sitting. Consequently I hatch most of my eggs in incubators, although I am trying to breed some mothering back into my trusty Barnies. If your hens are not good sitters you can get in a hen or hens for the purpose of sitting otherwise it’s incubators. The very silly looking Silkie chickens are excellent sitters, but their extremely docile nature can mean they get bullied by other birds.
There is no way to make a hen go broody. Locking her in a box with eggs will not make her sit. Don’t do this. However if a hen is broody when you don’t want her to be you can put her in a cage with the wire side under her and hang it up. Because she can’t make it warm underneath her she will give up after two or three days.
One of the most common questions I am asked is how one knows if a hen is really sitting or if she will give up. The truth is one never really knows, though if a hen has successfully sat before she is more likely to stay sitting. Once the hen has been sitting for three days she might be broody. Put your hand near her head and see how she reacts. She may make a low trilling noise as your hand approaches or she may peck you. If she does both of these things then she may well be serious.
Don’t worry if she is sitting on eggs that are not the ones you want to hatch. Once you have ascertained that she is serious you can easily swap these eggs for the ones you want her to incubate. The best time to swap eggs is at night. Chickens’ brains go into neutral in the dark so they are much less likely to react to your actions at night. To swap eggs first make sure the eggs you are going to put in are not freezing cold. Is she is serious she will have pulled feathers out of her breast to make a bare patch so that the eggs have good contact with her skin to keep warm. She may well reject cold eggs, pushing them off the nest.
A sitting hen needs a nice dry, secure location to sit. It should be rat, snake and other vermin proof. Nesting boxes in the hen house are a good option as then the hen will still benefit from the protection of her vigilant bloke, should she have one. Nesting boxes should be placed lower than roosts as otherwise non broody birds will try to roost in them in their quest to be roosting highest. However they should not be placed underneath where other birds roost or they will soon become contaminated with manure. If a hen pushes eggs out of the nest it is most likely because the eggs are rotten so don’t go putting them back under her.
It is also vital that a broody has excellent pest control. She is literally a sitting target and will accumulate a lot of insect pests if you don’t take care. Plenty of Diatomaceous Earth is the best thing. See this post for information on what it is and how it works.
There are some drawbacks to having a broody in the house with other hens. Hens may try to steal eggs from under a broody or they may try to usurp her nest. This results in eggs being damaged or not being continuously sat on and thus the incubation temperature not maintained. For these reasons you might like to make your broody’s spot inaccessible to other hens.
If you are going to enclose your broody remember that she needs enough space to get off her nest to toilet and to eat. You want her to be toileting as far from the nest as possible in order to avoid contamination of eggs, which can result in rotten eggs. She should get up once or twice a day but she won’t stay up for long as the eggs will soon get cold.
Because they don’t get up for long it is important to provide sitting hens with excellent quality feed. A good grain mix is essential, as are green vegetables, spinach is excellent. Because hens lose a lot of weight while sitting, foods that are high in fat are also a must. I feed mine bacon with plenty of fat on it. Having high quality food available at all times in one reason you need a vermin proof enclosure.
Chicken eggs take 21 days to incubate, however development doesn’t start until the eggs have been at the right temperature for at least 16 hours. Incubation time is affected by temperature. If it has been very cold the eggs will hatch a bit later and vice versa if it has been very hot. Don’t panic if you haven’t seen any chicks after 21 days. The very worst thing you can do is disturb the hen to look. Once the chicks do hatch they will not come out from under their mum for at least a full day. In this time they dry out and recover from the very hard work of getting out of their egg. They don’t all hatch at exactly the same time so the hen won’t move until as many as she thinks will hatch do so.
If there is no sign of chicks after 25 days then is the time to investigate. At night, take the eggs out and shine a strong light through them, making sure you keep them warm while you do so. This is easily achieved by placing the egg on the end of a toilet roll and shining a light through the roll in a dark room. You should be able to see a big air bubble at the blunt end of the egg while the rest of the egg is opaque. If you don’t see this then the eggs have not developed. If the entire egg is dark the egg is probably rotten.
Do not let your hen sit for longer than four weeks. If the eggs haven’t hatched by this time they never will and the hen can die of starvation if she remains sitting. She will need a good month to regain her normal weight before she can sit again. Sadly hens are often more determined to sit than aware of this fact so then it is necessary to take matters into your own hands and put her in the hanging cage.
Once your eggs have hatched the chicks will need good quality food. They don’t eat for at least 24 hours after hatching as just before they hatch they absorb the remaining part of the yolk and this feeds them for that time. After that they need green food immediately and a good chick starter as well as fresh, clean water.
I always put crushed, dried chilli, whole garlic cloves and apple cider vinegar into all my birds’ water. You need to get a good cider vinegar that says “with the mother”. The mother is the active part of the vinegar and vinegars without this are lacking the necessary nutrients. About a teaspoon of chilli, one clove of garlic and 20mls of apple cider vinegar per 5 litres of water is all that is required. Making sure these are in your birds’ water will help to avoid disease outbreaks.
I eat my birds and so I use Tasmanian Seedhouse starter as it is the only one available here that doesn’t have medication in it. Unless one is crowding a lot of birds into a too small space, or not practicing good hygiene one is unlikely to actually need this medication. If you can’t find a chick starter that doesn’t have medication look for a game bird starter as they often don’t have medication.
Once the chicks are able to be out foraging with their mum they need protection from predators that allows them access to green food as soon as possible. I keep mine in netted yards until they are twelve weeks old or they get gobbled up by hawks, owls and eagles. Birds raised by a hen really do do better than those raised in incubators. I suspect this is because they learn to eat a wider range of foods. Incubator raised birds often have to be taught to eat slugs and snails for example. If they don’t encounter these nutritious treats when they are first learning to eat they don’t seem to learn that they are food. They will eventually learn to eat them if put with other birds that eat them but having a good mum is vital to success!
It's Chicken Time Again.
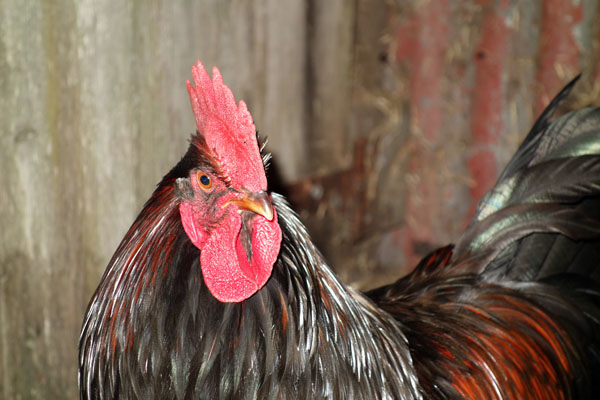 Now that we have passed the solstice and it’s all uphill from here, in a length of days kind of way, poultry activities have taken an upturn and its chicken time again. Even if I was innocent of all knowledge of the lengthening days, I would know that it is chicken time as people suddenly start calling and emailing me every day asking for birds and eggs.
I start actually taking orders in August. In the mean time things are afoot for this year’s breeding season. Over winter all the ladies have been living in one big house with the oldest and most experienced bloke to keep them all safe. “Why one bloke?”, I hear you ask. The sad truth is that he was the only breeding cockerel from last year to survive the predations of Aquila audax fleayi, the Tasmanian wedge tail eagle. Fortunately(?) a pair of these endangered eagles successfully bred near us last year. Our property was in their hunting range… It was the first time I had ever lost adult cockerels due to predation. The even sadder part is that the eagles would sometimes kill, or fatally wound, birds and leave them there uneaten. It could be due to young ones learning to hunt and trying for things that are too big for them to carry yet. Or maybe they have only learned the killing bit and not the eating bit.
Anyway, long story short, last season was flaming death from above. All told about eight breeding birds bit the dust. One hen was a three time eagle attack survivor, by the second attack she was the only one not injured and was firmly in the chook house and wouldn’t come out for days. Clearly she had learned, and hopefully she will pass her lessons learned on to her chicks and flock mates this year. I remain committed to free range breeding, however it is hard to see predators take birds, especially when they don’t even have the decency to eat them.
The high level of predation last year can be put down to a couple of things, a good season for eagles and hawks and the fact that last year I built new chook houses that are much further from the house than the present ones. The eagles especially don’t like to come too close to the humans, hawks are a bit more used to humans and I did have one plucking chicks from a yard very near the house last year. I ended up making it fully enclosed as a result.
In more cheerful news last year’s young blokes have been growing out and showing their true colours. I have chosen three newcomers to be this year’s lucky winners; Forrest, Dan and Darkness.
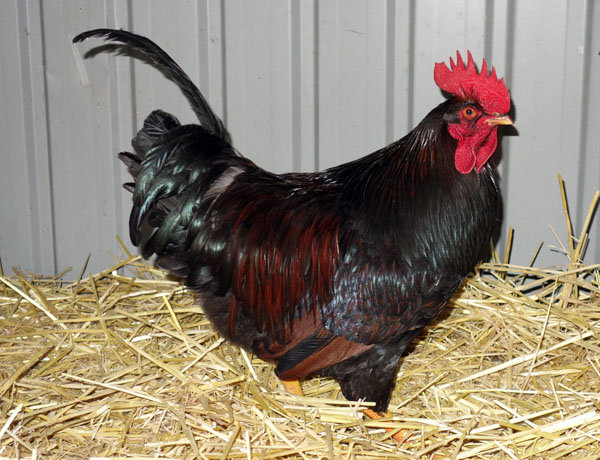
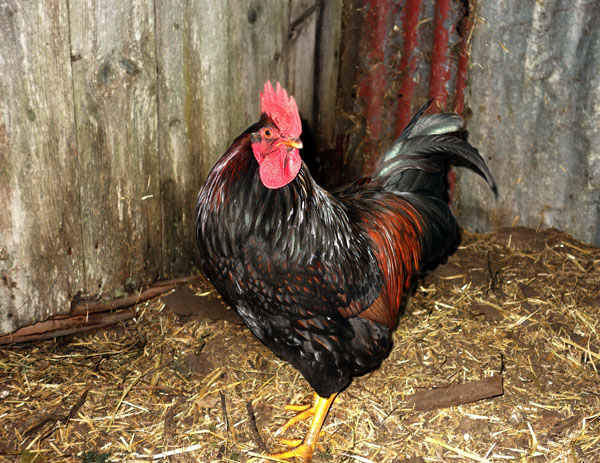
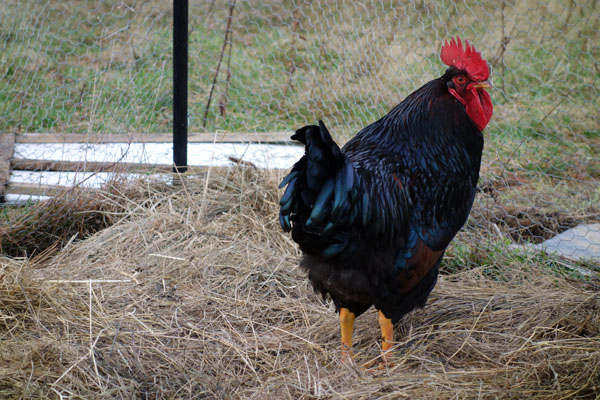
They were moved to their respective breeding sheds today. After they have had time to settle in there and make them their own, ladies will be joining them.
When I first moved to Tasmania I found that Barnevelders were quite inbred here and also had a trait I had not seen elsewhere. In any given hatch there would be a number of very light coloured chicks. Barnevelder chicks should be brown, with dark brown stripes. Here’s one I prepared earlier…
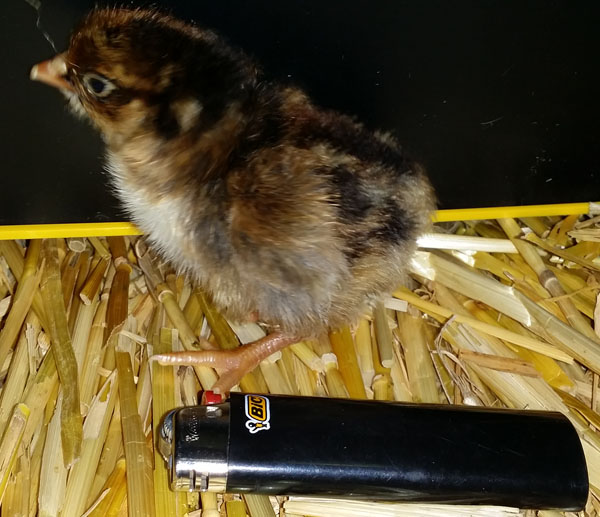
This is actually the smallest chick I ever hatched. Lighter for scale.
Somewhat undesirably the chicks were coming out like this. Some dark but many light.
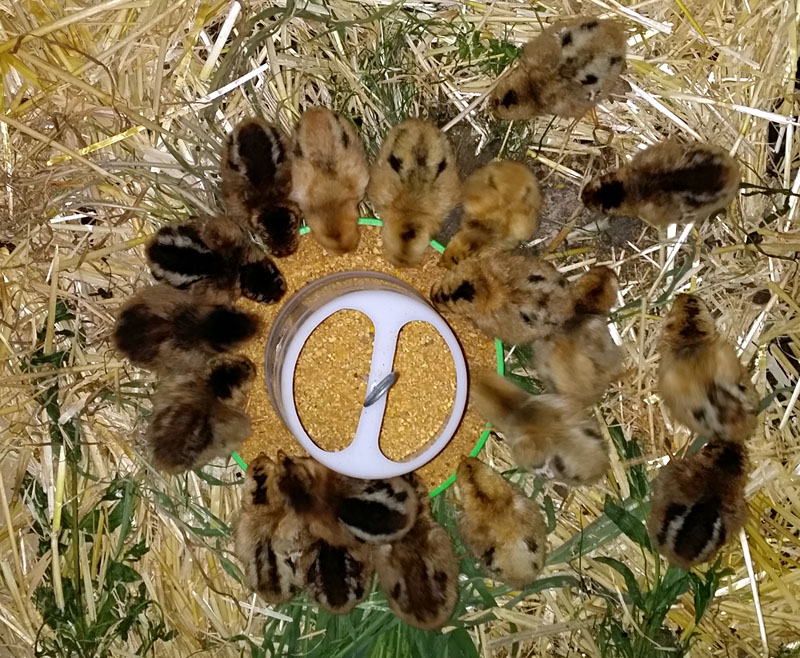
When these birds feather up as adults they all look like Barnevelders should. I suspect what has happened is that at some stage someone has crossed Barnevelders with something else in an effort to combat the kind of inbreeding that often happens in places with a small population of birds, like here is Tasmania. This is not an unreasonable approach if you don’t have any other options. However it is not optimal, so this year’s breeding is focusing on, among other things, elimination of these light coloured chicks. Last year I tagged all the brown chicks and it is from these that this year’s breeders have come.
So You Think You Want Pigs?
Perhaps you are considering a pet pig, or maybe you want some pigs for meat or for farm jobs like ploughing. There are some important questions you need to consider; Will a pig suit your environment? Is there enough space for a pig? How much sheer destructive power will be unleashed if a pig enters your life?
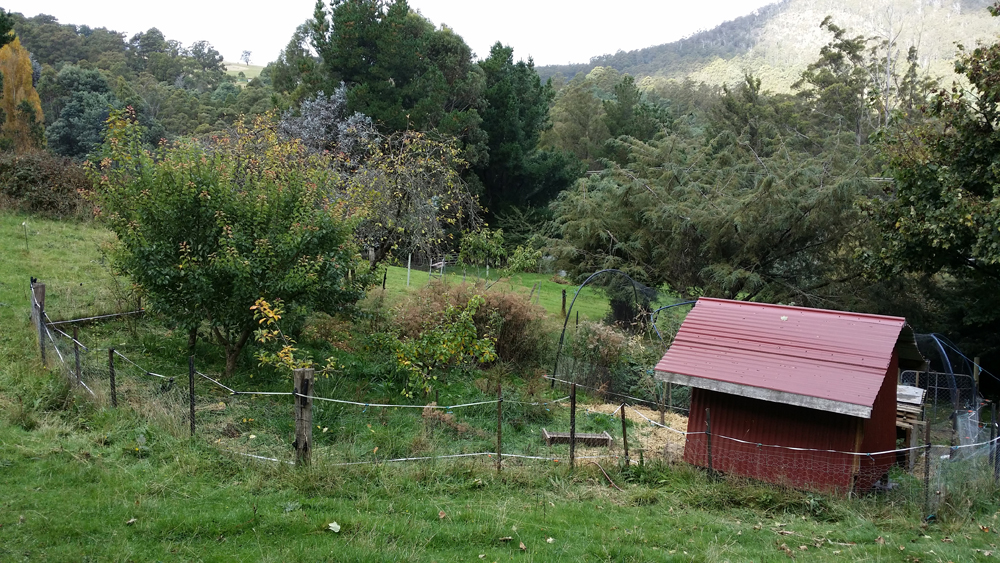
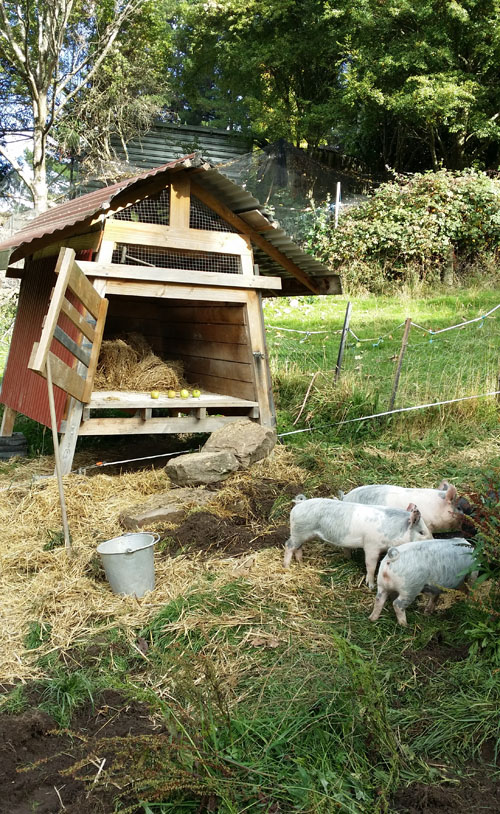
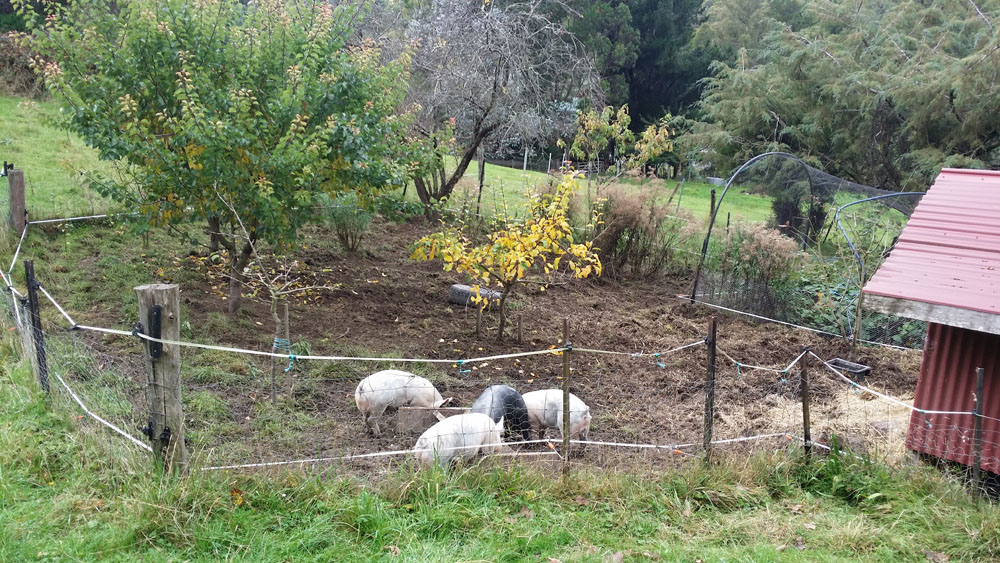
Here is where we have put our four pigs to start with. This area is 10 metres x 12 metres. Here it is on the day we put the pigs in there. Note that there is electric fence around the inside at about 6 inches off the ground. There is also electric fence around the top of the enclosure to stop possums getting in because we don’t want the pigs to eat any meat.
Pig enclosure 12th of April
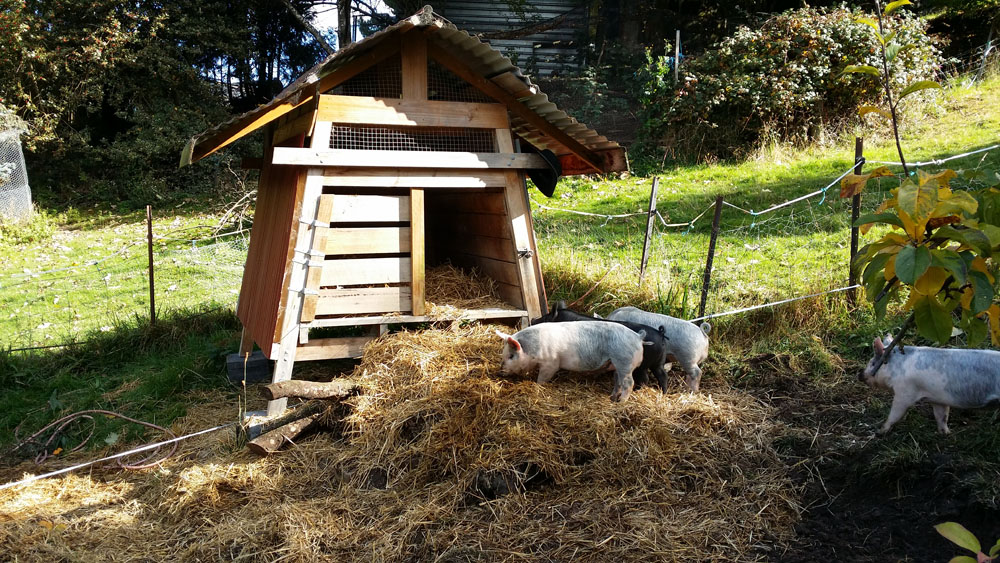
The pig people had been locked inside their lovely red house for the first week they lived with us so they could become accustomed to their new surroundings. Now they have freedom. We replaced the gate that had been keeping them locked inside their house with a half door so they can get into and out of the house and yet retain some of the straw in the house. They immediately pushed most of the straw out of their house onto the ground.
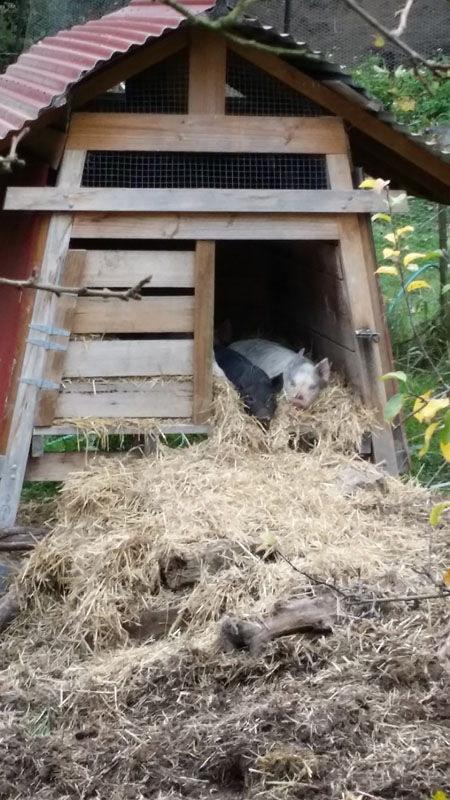
This is actually a feature. It means stale straw doesn’t build up in the house necessitating the cleaning of said house. Stale straw is all one really needs to worry about with a pigs house as they otherwise keep it really clean. Once they could go outside they immediately selected a designated poo area and from that moment there was a very clean pig house. Stale straw is a problem as they will eat their bedding straw. This is one reason we use Barley straw as it is very nutritious. For now we just keep throwing about a quarter of a bale of straw a day into their house, along with a half a cup of diatomaceous earth. This tops up the straw they push out and ensures they have enough cozy straw bedding for cold nights.
Four little heads poke cautiously out of the house, and then, in the blink of an eye, they are all outside exploring, snuffling and digging.
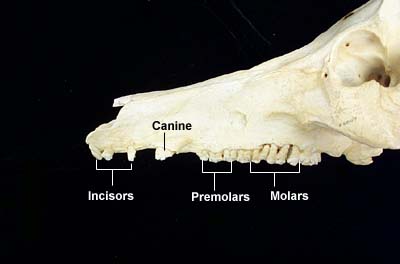
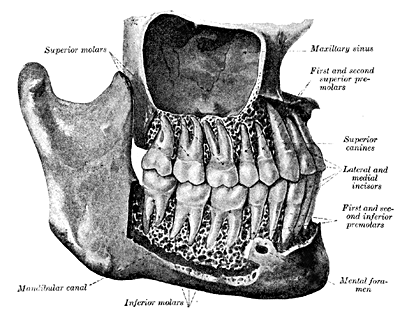
If there was a job description for pigs it would say “dig all the things”. Digging is pigs raison d’être. What are they digging for? Pigs are omnivores, just like us, so they are digging for roots, worms and fungi, as well as eating pasture. They will also eat small mammals, newborns of larger mammals, eggs and young of ground-nesting birds and reptiles. Basically they will eat anything they can catch, just like us. Including us. Pigs have basically the same teeth as we do; molars, pre-molars, incisors and canines. Theirs are just a bit more hardcore.
Porcine teeth
Pigs are not mild mannered unassuming animals. They are like industrial strength dogs. Smarter than dogs and fast, really fast. And cunning and ruthless. If you fall down and can’t get up in your pig pen they will eat you. Which is only fair, because we will eat them. You have to respect pigs. Pigs are very smart (but you probably won’t be able to see that article because Elsevier thinks it is more important that they should make money than that research should be shared so read this instead) as smart as a three year old human. Now imagine a 300kg three year old and you will have some appreciation of what keeping pigs is like.
So the pigs are out and about investigating their new environment having a great time. Just one problem, they can’t get back into their house. As you can see in the image below, the pig house is raised off the ground. This is important to keep the pigs both dry and warm as we live in sunny Tasmania and it’s coming on for winter. In this photo you can also see the rocks that were there from the last time we had pigs. Sadly these new pigs are too small to get back up into the house via said rocks. If you look closely you can see that there is a row of apples across the front of the inside of the pig house. This was our attempt to motivate them to try a bit harder to get back into the house. This was a total failure. Their little legs are just too short. Pigs seem conscious of their bulk and don’t like to get into situations that involve any kind of unsteadiness on their feet.
After some cautious exploration the pigs love it and can now sleep snug in their house.
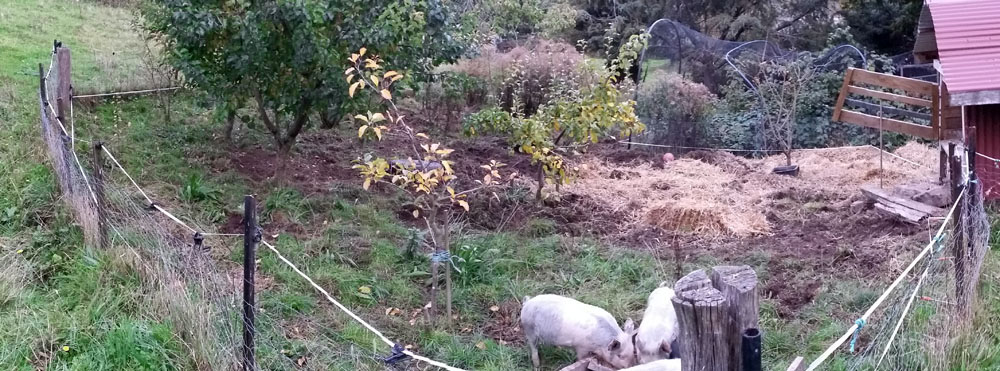
Time passes and the piggies affect their environment. They eat the green things and dig. Only five days after they are released they have already done this.
Pig enclosure 17th of April.
As you can see they have turned over a considerable amount of the area.The left hand corner appears almost completely unscathed, this is because it is the pig toileting area and so they don’t like to dig it. We have added some hay for them to eat and to dig into to start preparing the soil for the thing we will do after the pigs have moved on, which is plant something.
Ten days later it is like this. They are also noticeably bigger. They have dug in most of the hay we provided them, as well as the straw that escapes from their house daily.
They have eaten a lot more of the vegetation and turned over much more earth. With a bit of rain things are starting to get slippery in pigland. It is now strictly gumboot territory though there is still some greenery.
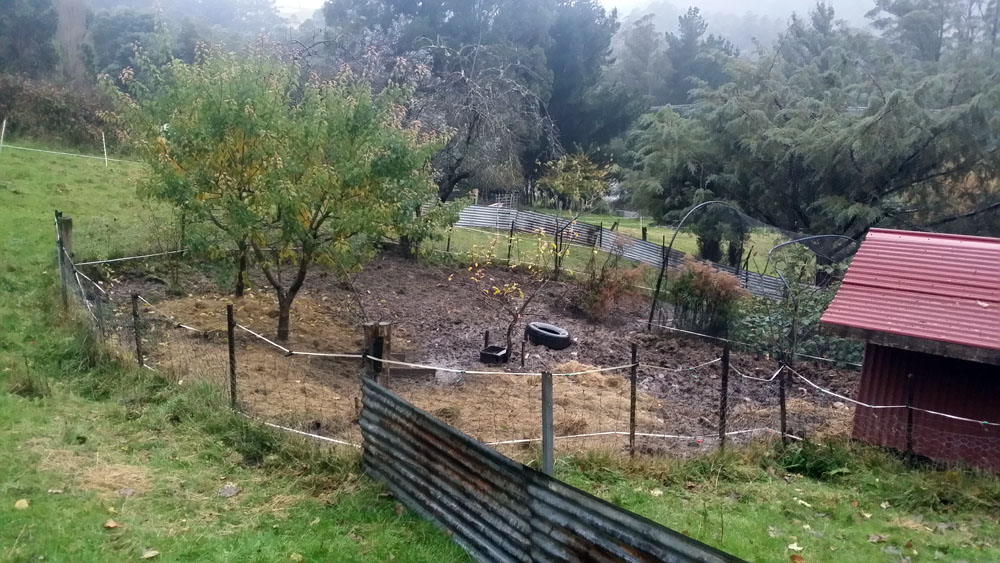
Two weeks later, it looks like this.
90% of the greenery that was growing is gone. The entire are has been turned over. After having 55mm of rain over these two weeks portions of the yard are now gumboot eating mud slicks. Four three month old pigs have destroyed an area of 120m2, an area similar in size to many suburban back yards. If this is all the space you have available then perhaps pigs are not the animal for you, unless the gumboot eating mud slick look is what you are going for.
Time to give them more space.
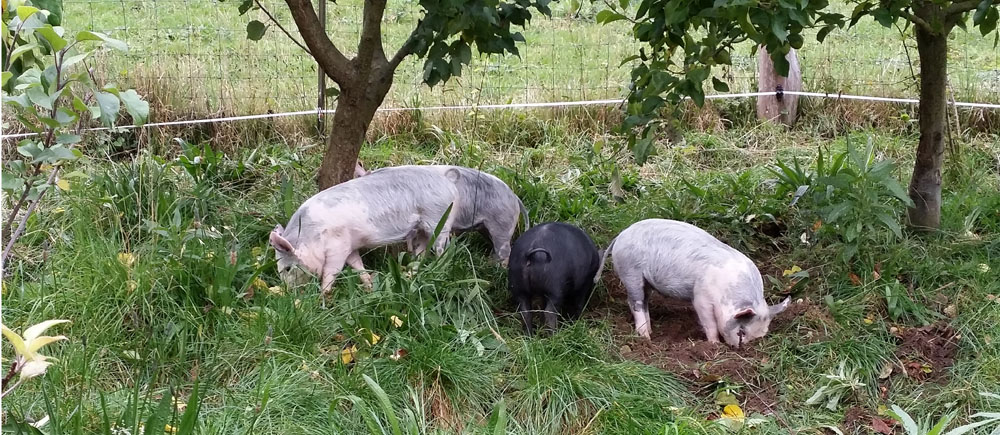
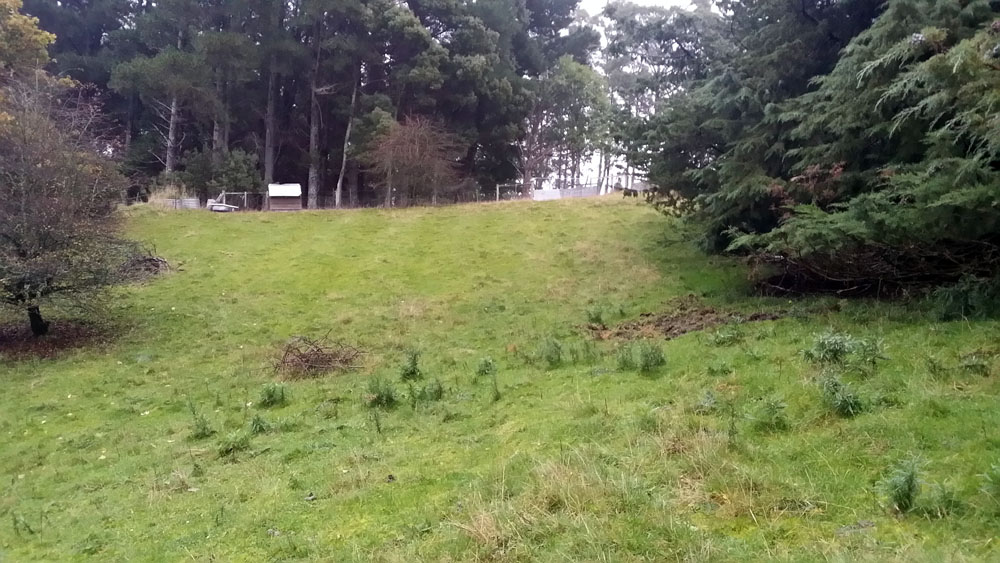
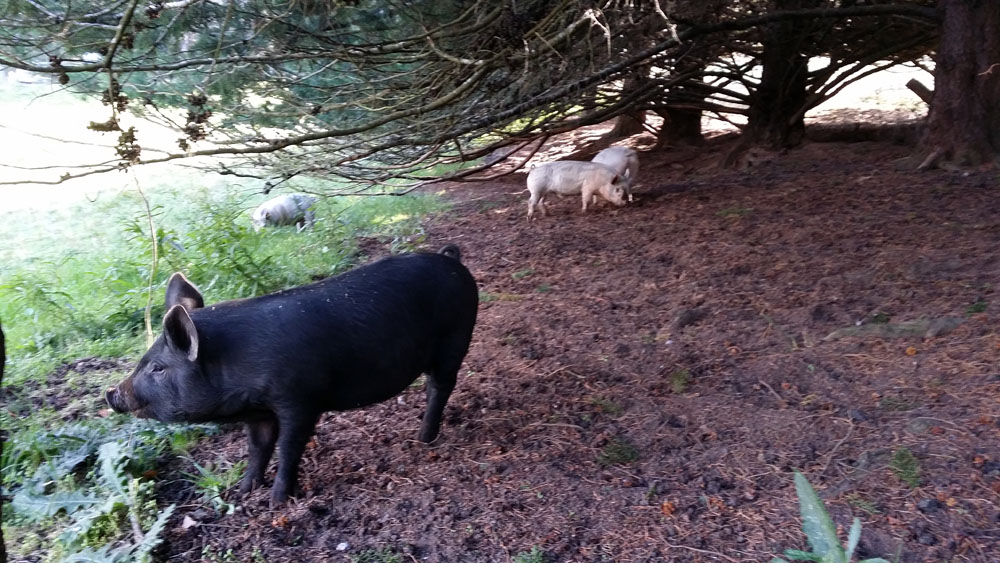
This is the paddock area that they four little relentless growing, digging machines now have access to. When we let them out they wouldn’t go out at first! Their egress had been restricted by an electric fence. Now that it was suddenly gone it took them a while to come to this awareness. At first they absolutely would not cross the line where it had been. It was the line of pain, and the pigs had come to respect the magic pain giving white tape. We lured them out with apples and eventually they crossed the line. Once out they immediately ran around the entire perimeter of their new area until they decided that under the trees was the place to be. Here are Midnight and siblings overlooking their new domain.
Future posts will detail how they treat this new extended area. But in the mean time here is a video showing just how good they are at digging.
Yeah, I Can Do That
There’s a spring-fed dam down the bottom of one of our paddocks which used to have plenty of water, and a few bulrushes. After what I’ve dubbed the “eight month summer” from October 2012 to May 2013 (i.e. eight months of below average rainfall), most of the water in the dam was gone, and there were rather more bulrushes. Flash forward to the end of last summer (approximately February 2015), and we had all the bulrushes and no bloody water.
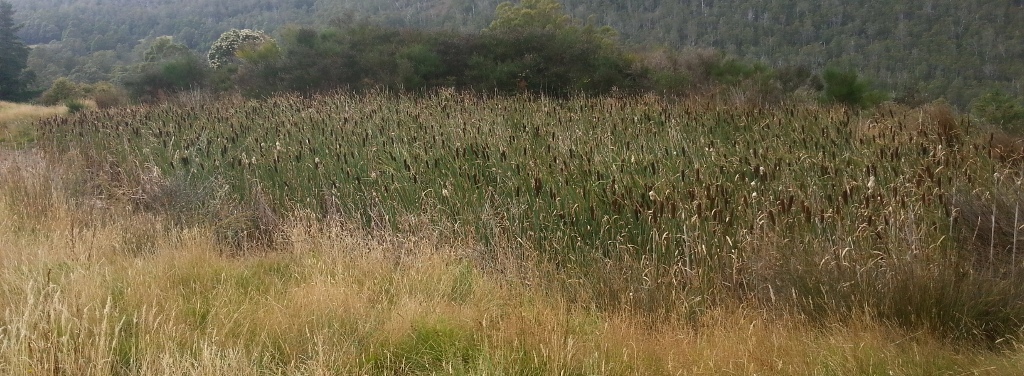 We figured either the dam was leaking, or the bulrushes were drinking up the water. Seeing as there wasn’t any water in the dam, I though it’d be an ideal time to pull the bulrushes out; relatively easy access, and once we get some more rain through winter, we’ll be able to figure out what the dam is doing one way or another. Having pulled out a small patch of bulrushes over the course of ten minutes or so, I thought to myself: how hard could it be? (The astute observer will note that this is a weak form of the deadly old rhetorical “what could possibly go wrong?”)
For those who have never experienced bulrushes first hand, they are a reed up to a couple metres tall, with a stalk anywhere between 3-10cm at the base, and as far as I can tell, they grow in maddeningly sticky mud. Apparently parts of them are directly edible, you can use them to make flour, and I suspect you can even brew beer from the roots with some effort, but that’s a project for another time. Any individual bulrush is not too much of a pain to pull out of the ground, assuming some upper body and/or arm strength. So I decided to spend half an hour each morning pulling ’em out, and dropping them in place, so I could stand on the resultant reed mass to get to the ones in the middle of the dam where the ground becomes seriously boggy. Here’s a photo of the swathe I cut down the north side of the dam over the first day or two:
 It’s important to note that we don’t own any heavy machinery suitable for this task, so the entire job was done solo, by hand, in gumboots and gloves. After about a week, it was starting to look like an impressive impact (note – this photo is facing back the opposite direction from the previous photo):
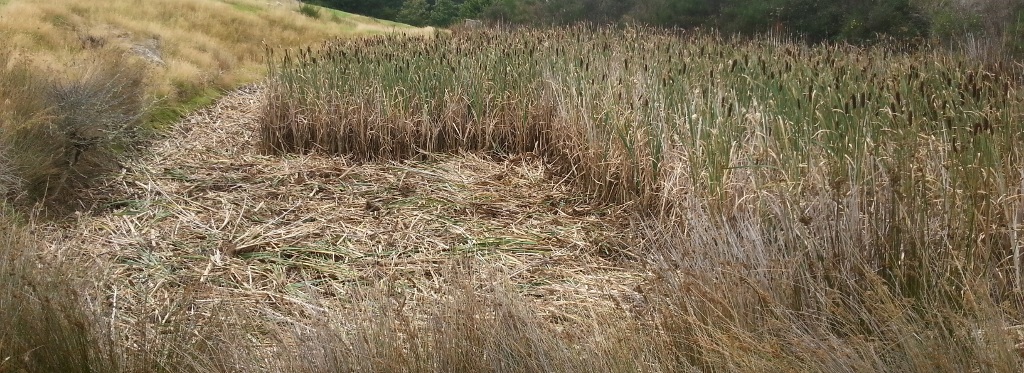 After two weeks I got bored with dropping flat areas, and decided to make a few paths to liven things up:
 After about three weeks, I had the whole lot down, if you ignore a couple of small patches above dam height that are embedded in blackberries:
 The next task was to get all that crap out of the dam. Again, handwork (just drag the damn bulrushes outta there), but I did find a heavy rake useful. Later, after the rake broke, I resorted to a hoe for lighter dragging. Here’s the middle of the dam after a few days:
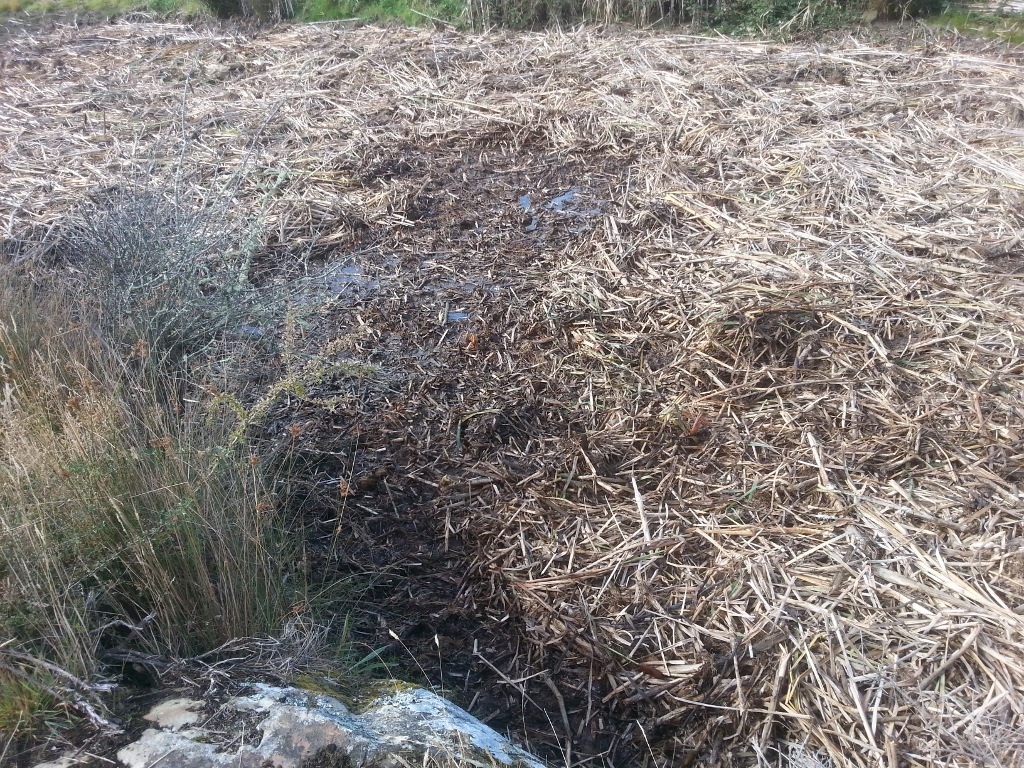 And after about another week:
 There were frogs and spiders. I managed to photograph one of the frogs:
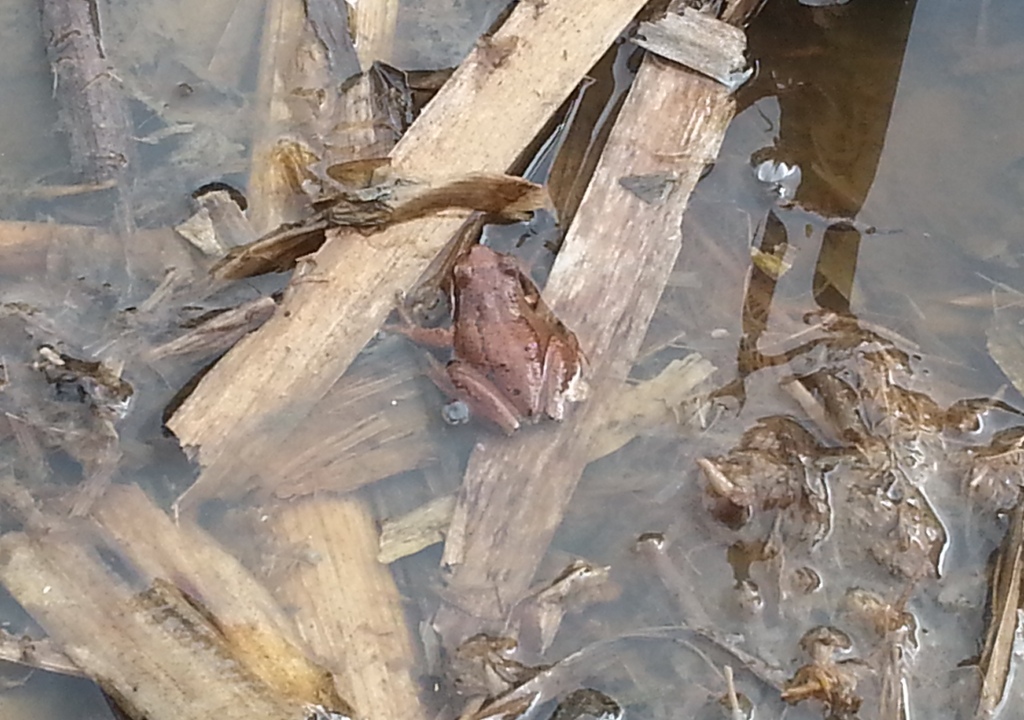 Finally, after seven weeks in total:
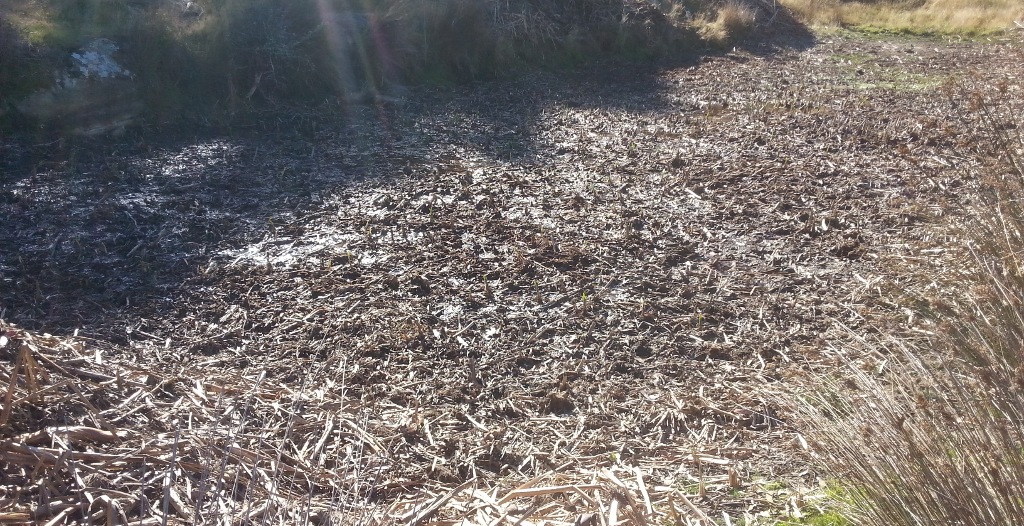
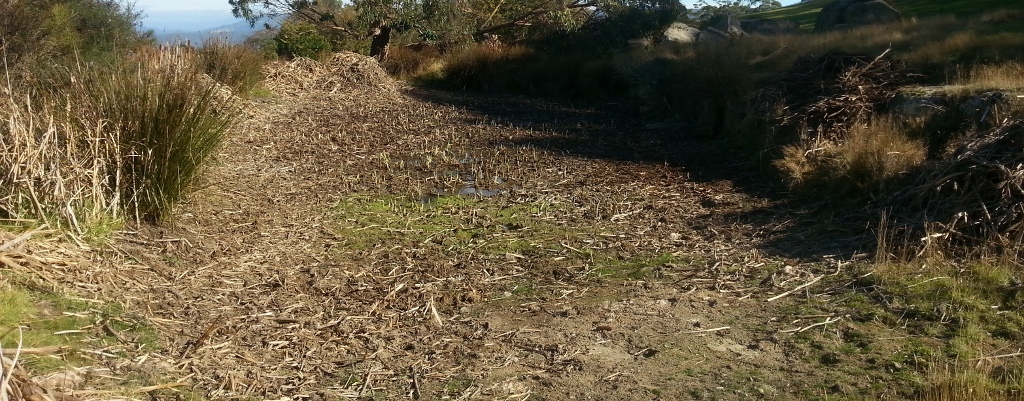 It’s basically clear now; there’s a smattering of bulrushes attempting to regrow, but I have high hopes that it should at least be manageable now if we keep on top of it.
It sounds pretty impressive to say this was a forty-nine day project, but it was actually “only” about twenty-five hours work. On the other hand, if I’d attempted to do the whole twenty-five hours back to back, I’d probably be dead now.
In other news, we have several piles of semi-dried bulrushes:
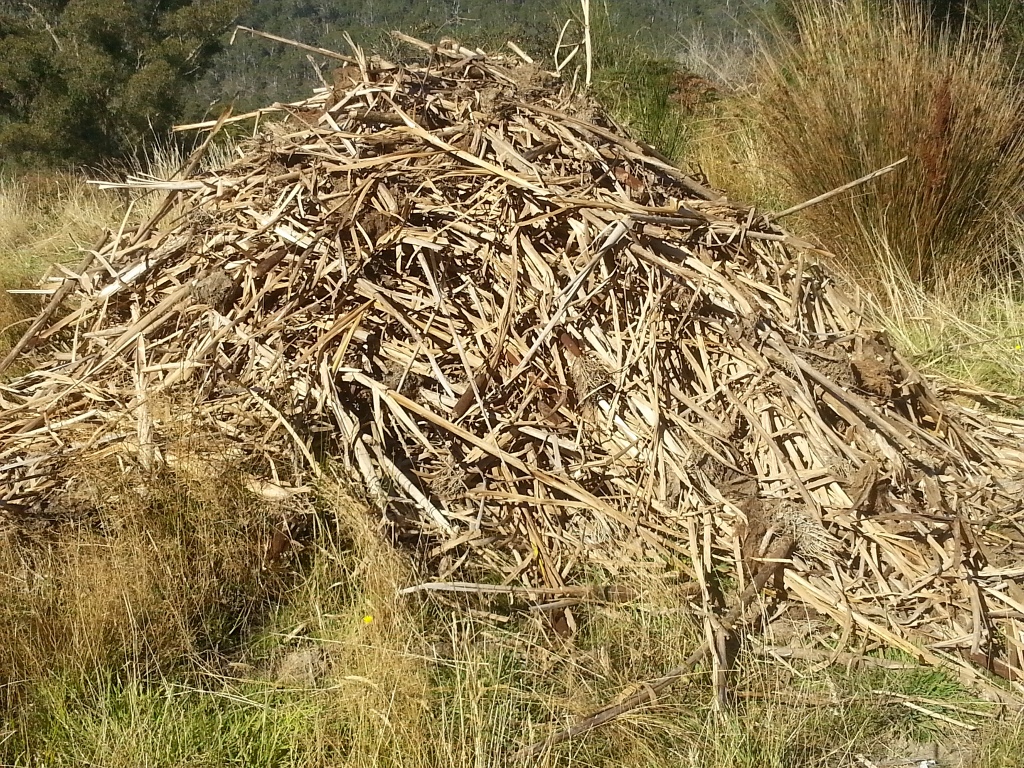 Possibly we should investigate basket weaving.
Amazing Bread
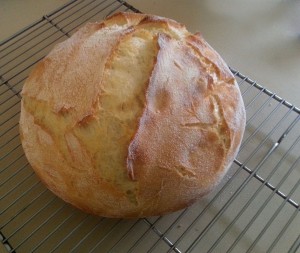
This is the simplest – and at the same time possibly the best – bread recipe I have ever made. No kneading, no bread machine, and you get good bakery-quality bread for something like $1 per loaf, assuming you’re buying flour in 5kg bags. Here’s a handy how-to video:
If you’re more textually inclined, read on. You will need:
- 2 + 2/3 cups warm water
- 2 tsp salt
- 1/2 tsp yeast
- 5-6 cups plain flour
- A little bit of extra flour – rice flour is excellent, but whatever you’ve got handy will be fine
- A cast iron pot with lid (or possibly a casserole dish if you don’t have a suitable pot)
- Patience, because you have to leave the dough overnight – this is not instant gratification bread, but it’s worth the wait
Put the water in a bowl, sprinkle in the salt and yeast, and stir until everything is dissolved. Add the flour – you want somewhere between 5 and 6 cups, the aim being to create quite a sloppy dough. Mix it all together with your hands, but just for long enough so that it’s even. More flour gives a firm dough which in turn will result in a very dense loaf, whereas less flour makes for fluffier bread, so really the moister the better (Morgan insists that “moister” is not a word, but I think it’s perfectly cromulent). If the dough sticks annoyingly to your hands, it’s a good sign.
Once the dough is mixed, cover the bowl with a damp tea towel and put it in a warm place for 18-24 hours. On top of (or even inside) a rack of computer equipment is ideal, but if you don’t have one of those, a warmish room will work fine. The tea towel will dry out eventually, so make sure to keep it damp, say, with a spray bottle of water, or just take the towel off the bowl and run it under a tap.
After 18-24 hours, tip and/or scrape the dough out of the bowl, and roll it around in some more flour. Bonus points for folding it a bit and ending up with a nice round ball shape. Rice flour is excellent for this part of the process, because it gives the loaf a nice golden outer crust. Put the dough back in the bowl under the tea towel for about another hour.
Finally, the baking. Put a cast iron pot with lid in the oven and preheat to 250°C. If your oven won’t go that high, just put it on maximum. Once oven and pot are nice and hot, wrangle the dough into it, put the lid on, and bake for 35-45 minutes. I usually set a timer for 35 minutes, then pull the bread out and stab it with a knife to see if it’s done. If the knife comes out clean, you’re good. If there’s a bit of sticky stuff on the knife, return the bread to the oven for another 5-10 minutes.
Once it’s done, take the loaf out and let it cool on a rack for a little while, then eat and enjoy!
And Then There Were Pigs
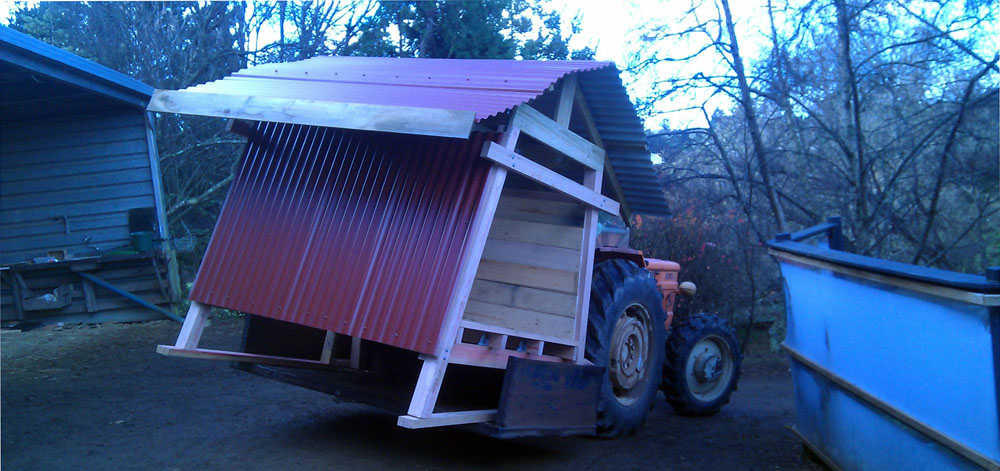
We are very happy to again have pigs. These guys had just been tackled by a couple of large humans and put in a box which was put on top of a ute for the longest drive they have ever had. Then we had to get them from the box to their house. This meant individually picking them out of the box and carrying a squirming, squealing (loud – oh so loud – no really – really fucking loud) creature across a paddock. Despite being only eight weeks old they are remarkably strong and determined. Here they are, ensconced in their fancy pig house wot we made. Notice that it has double walls which are insulated with straw in between the two layers of the walls. It’s cold here.
“Doesn’t look very fancy” you say…
Here is a photo of it being moved from the shed where we built it down the hill to where it lives now. Please do not notice the dodgy arse way we have loaded it onto the carry all.
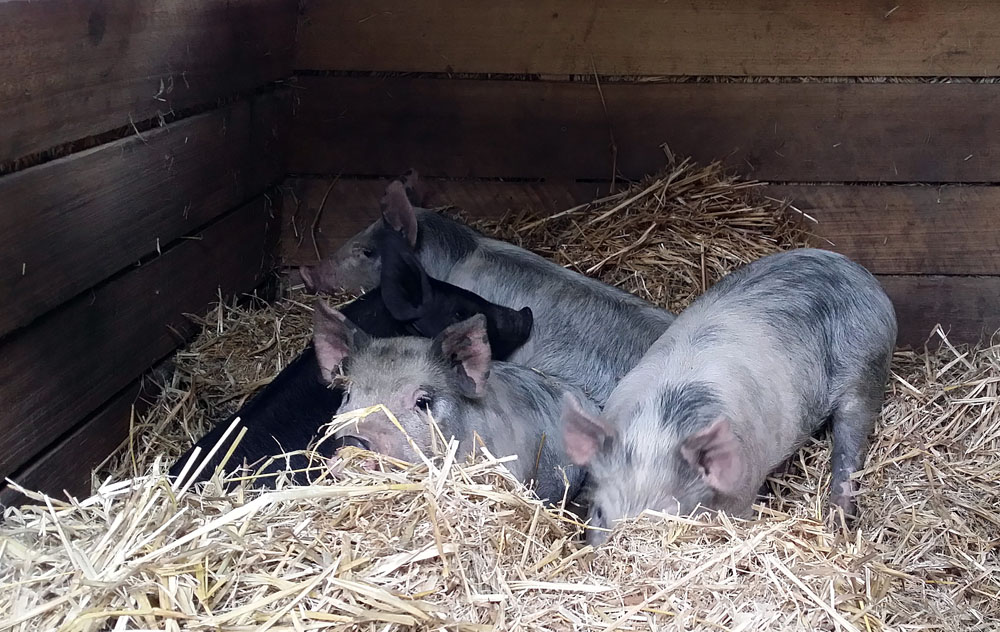
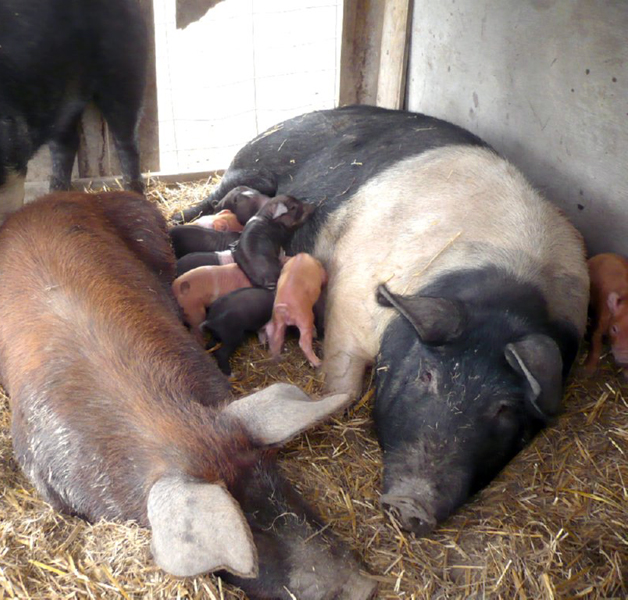
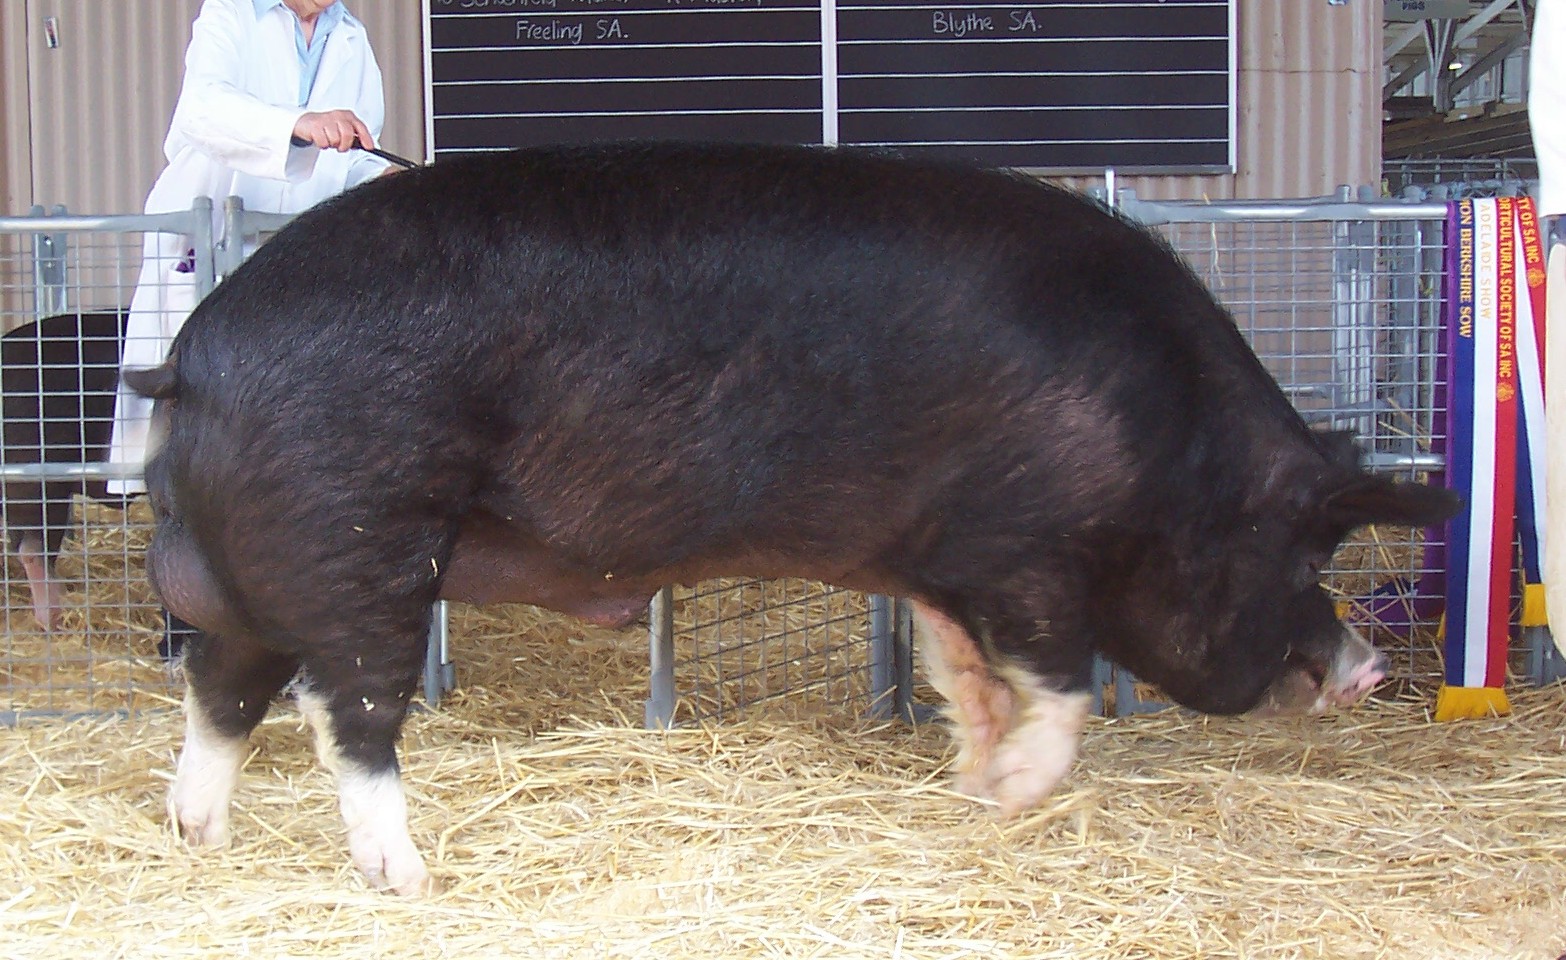
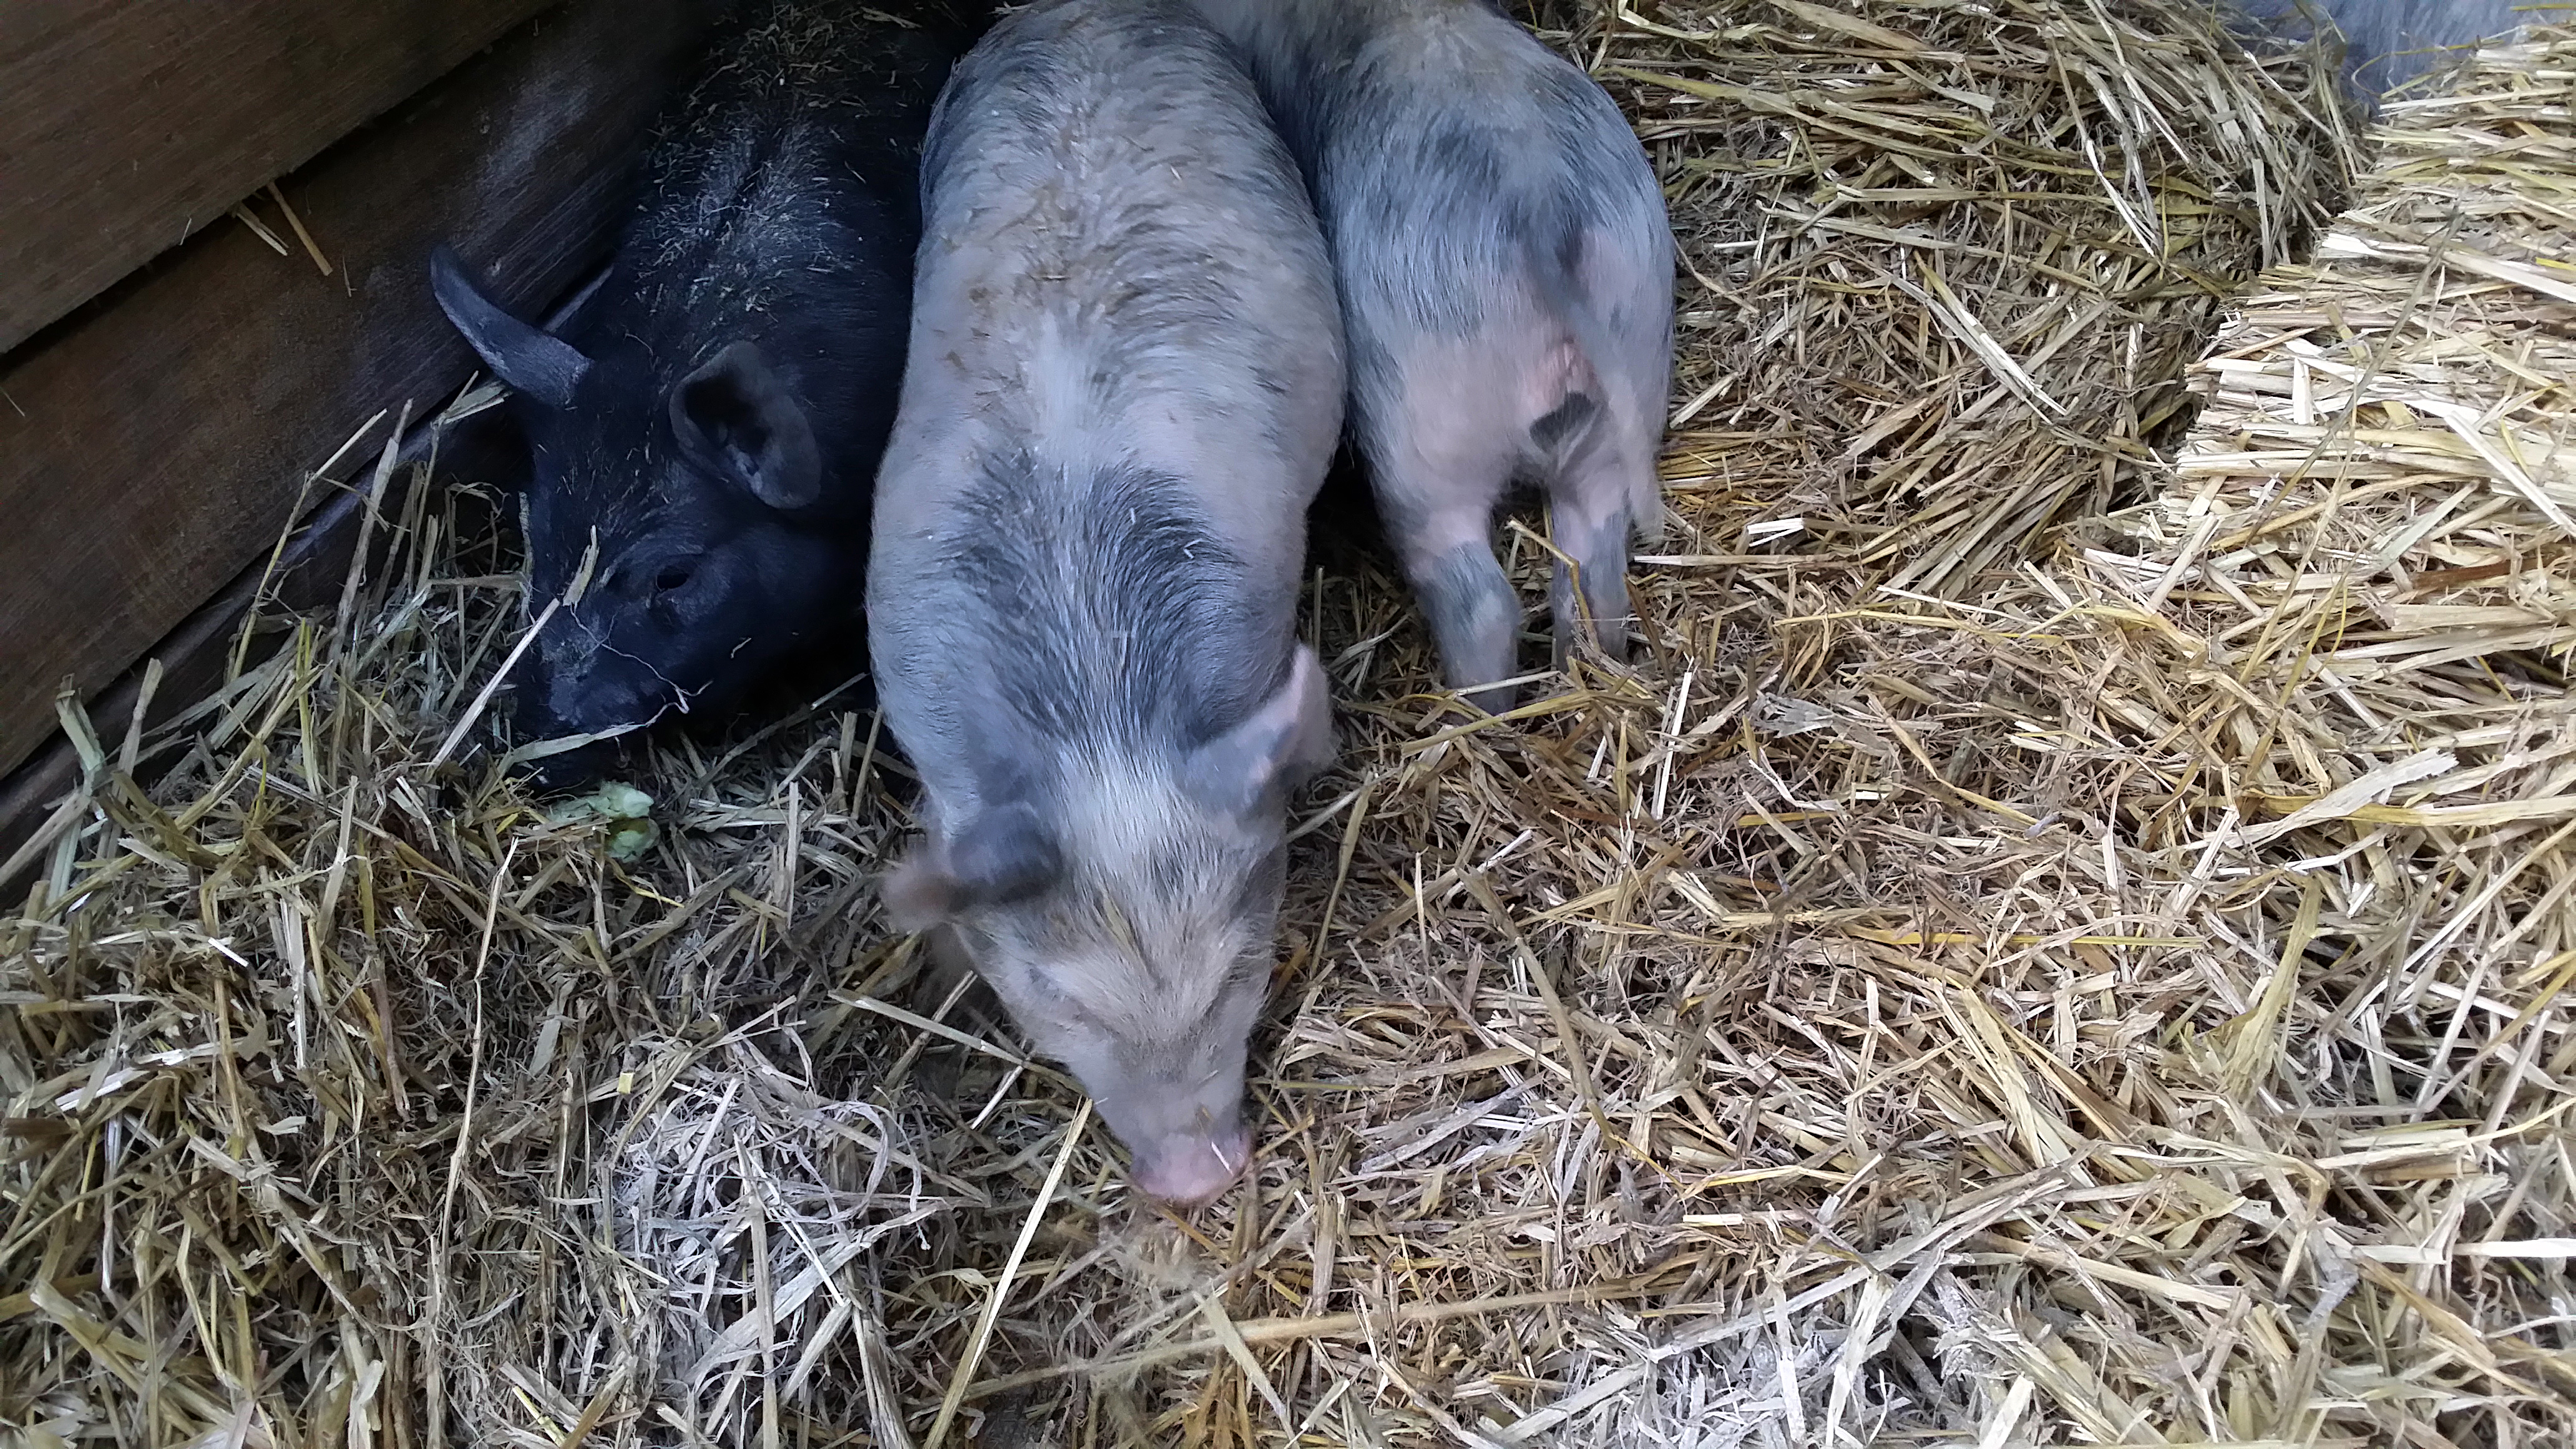
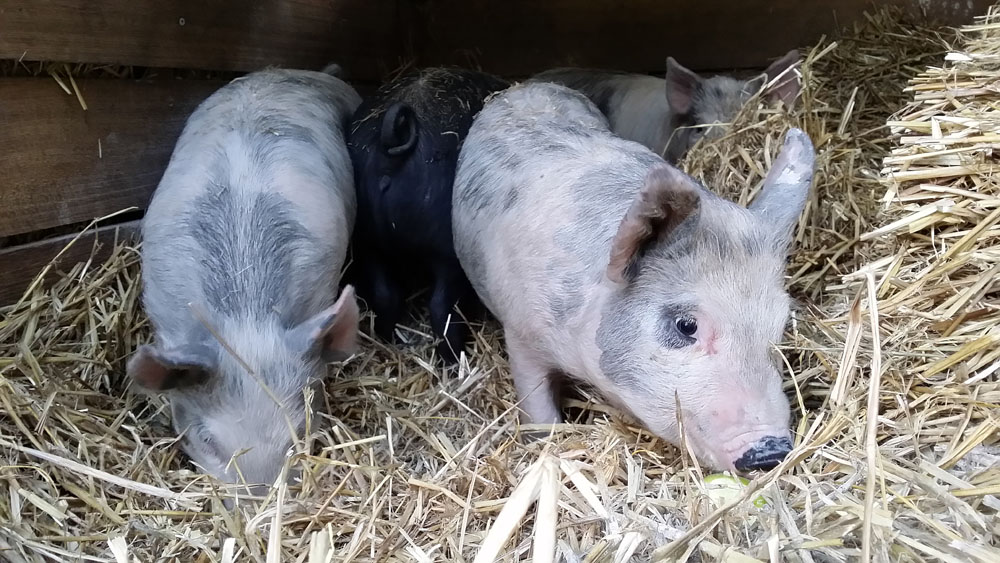
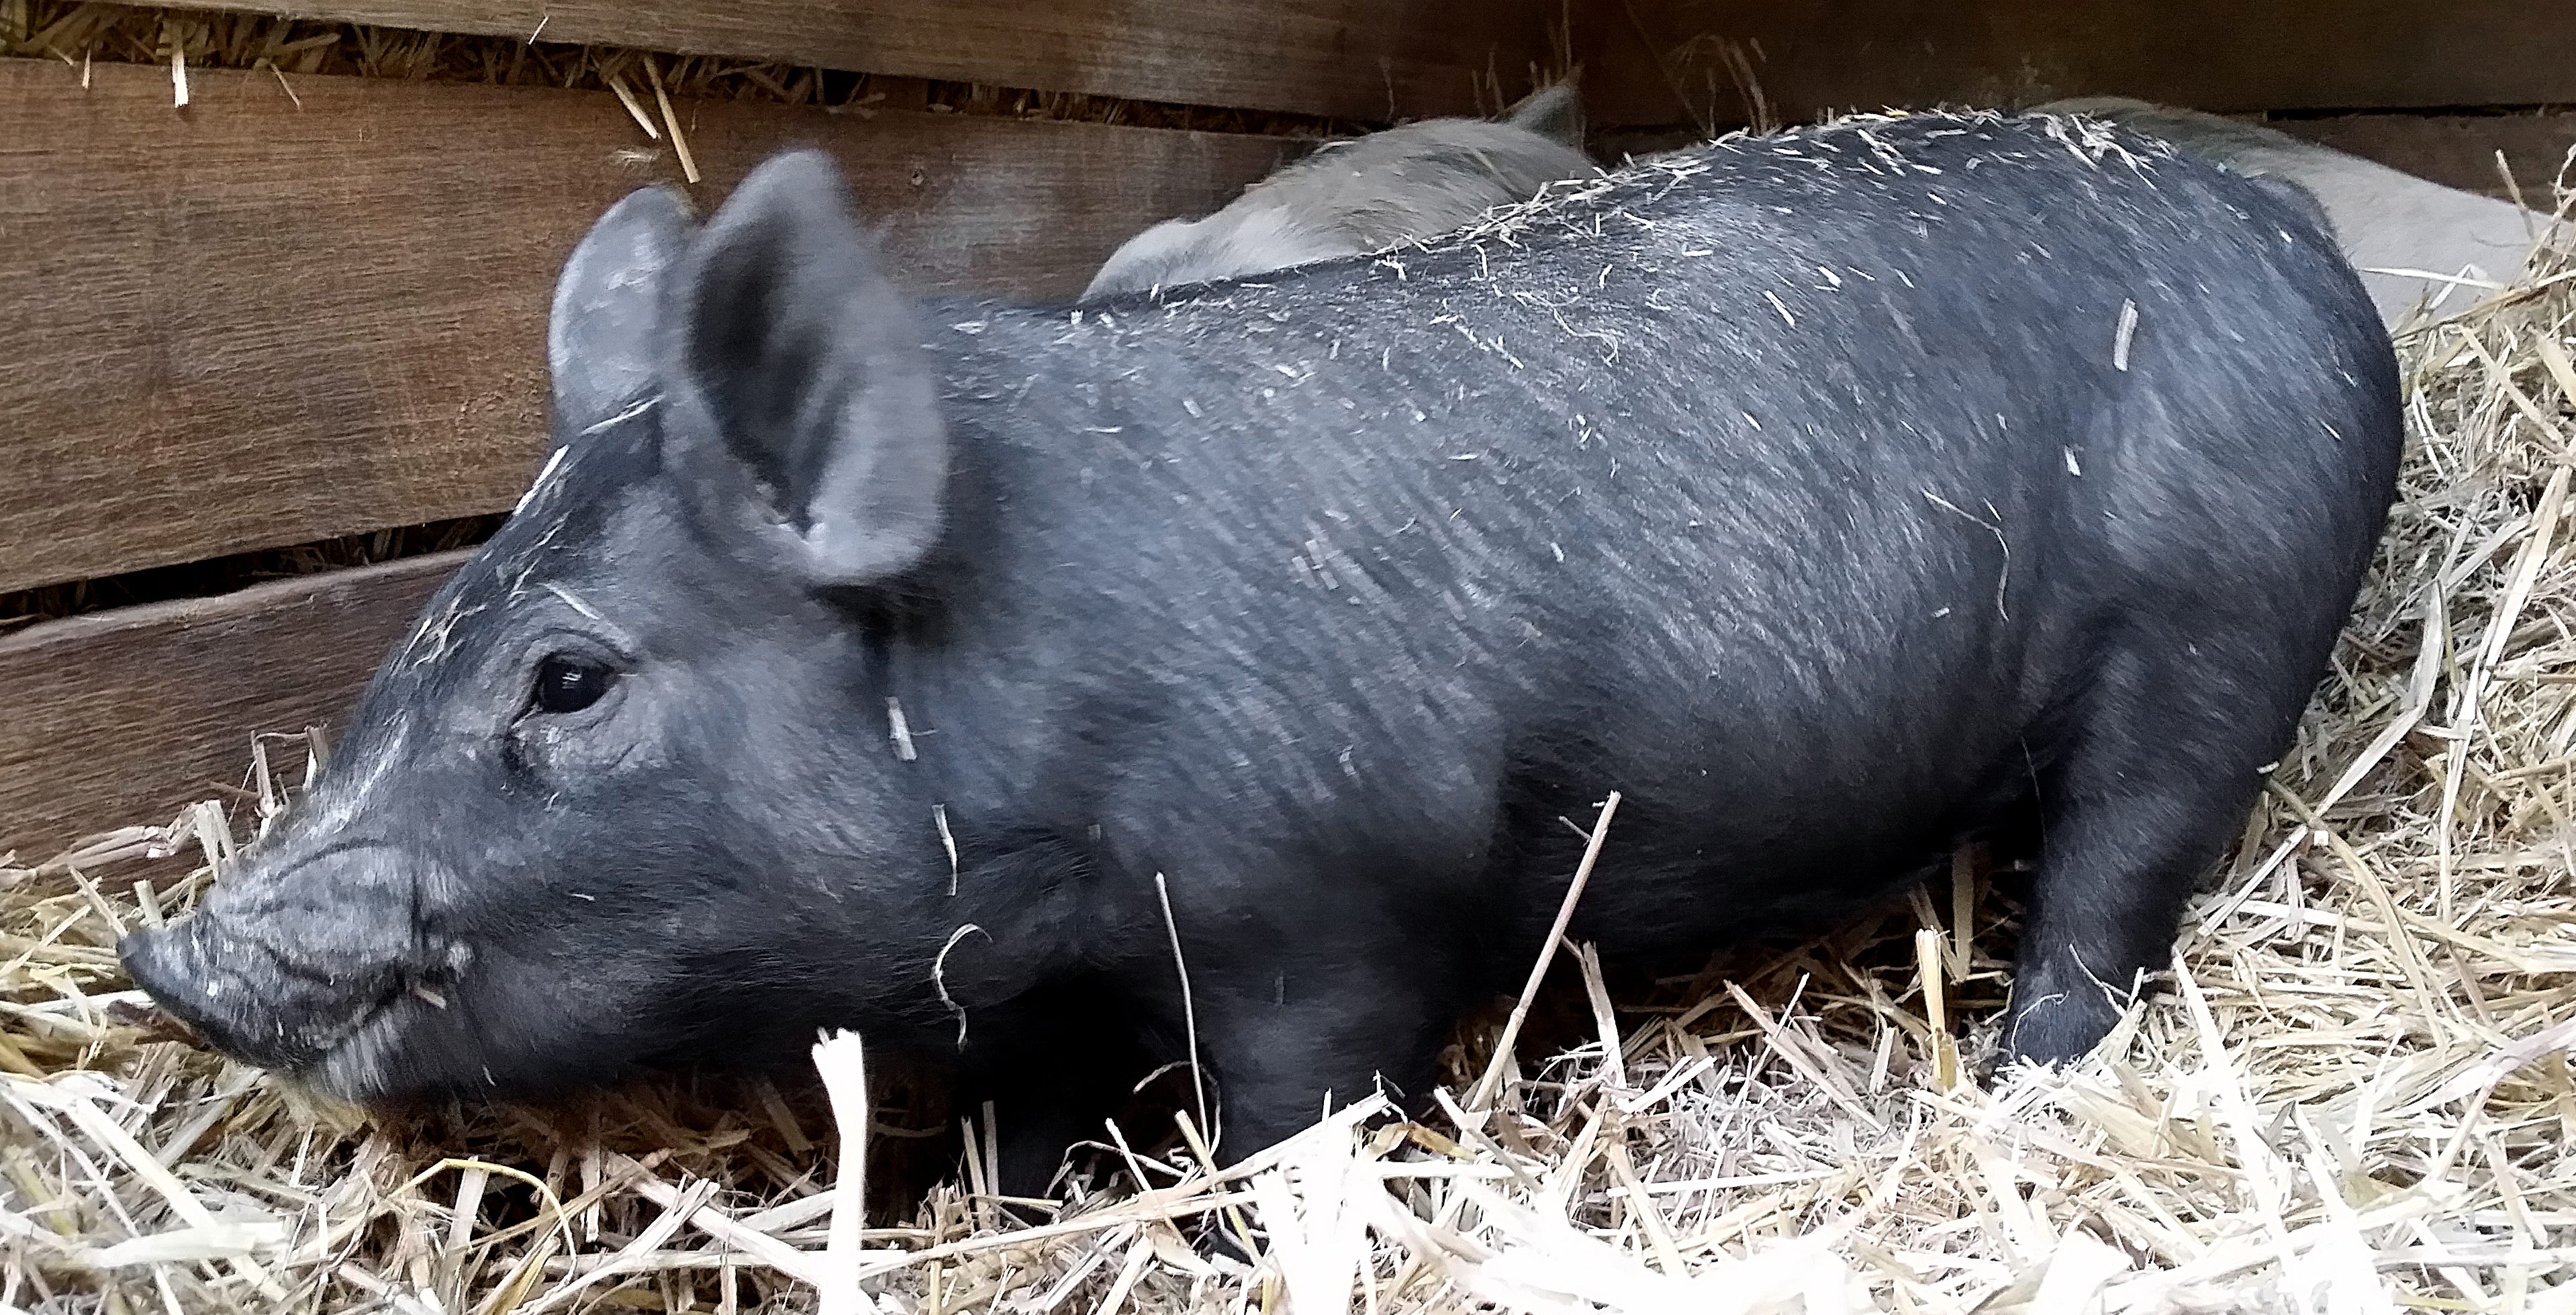
“What kind of pigs are they?” you ask. The very nice lady we bought them from told us the mum was a Saddleback and the dad a Berkshire. The mum was all black and we didn’t see the dad. The pig on the right in this photo is a Saddleback. They are a black pig with white across their shoulders and forelegs.
The pig in this photo is a Berkshire pig. They are a black pig with white feet.
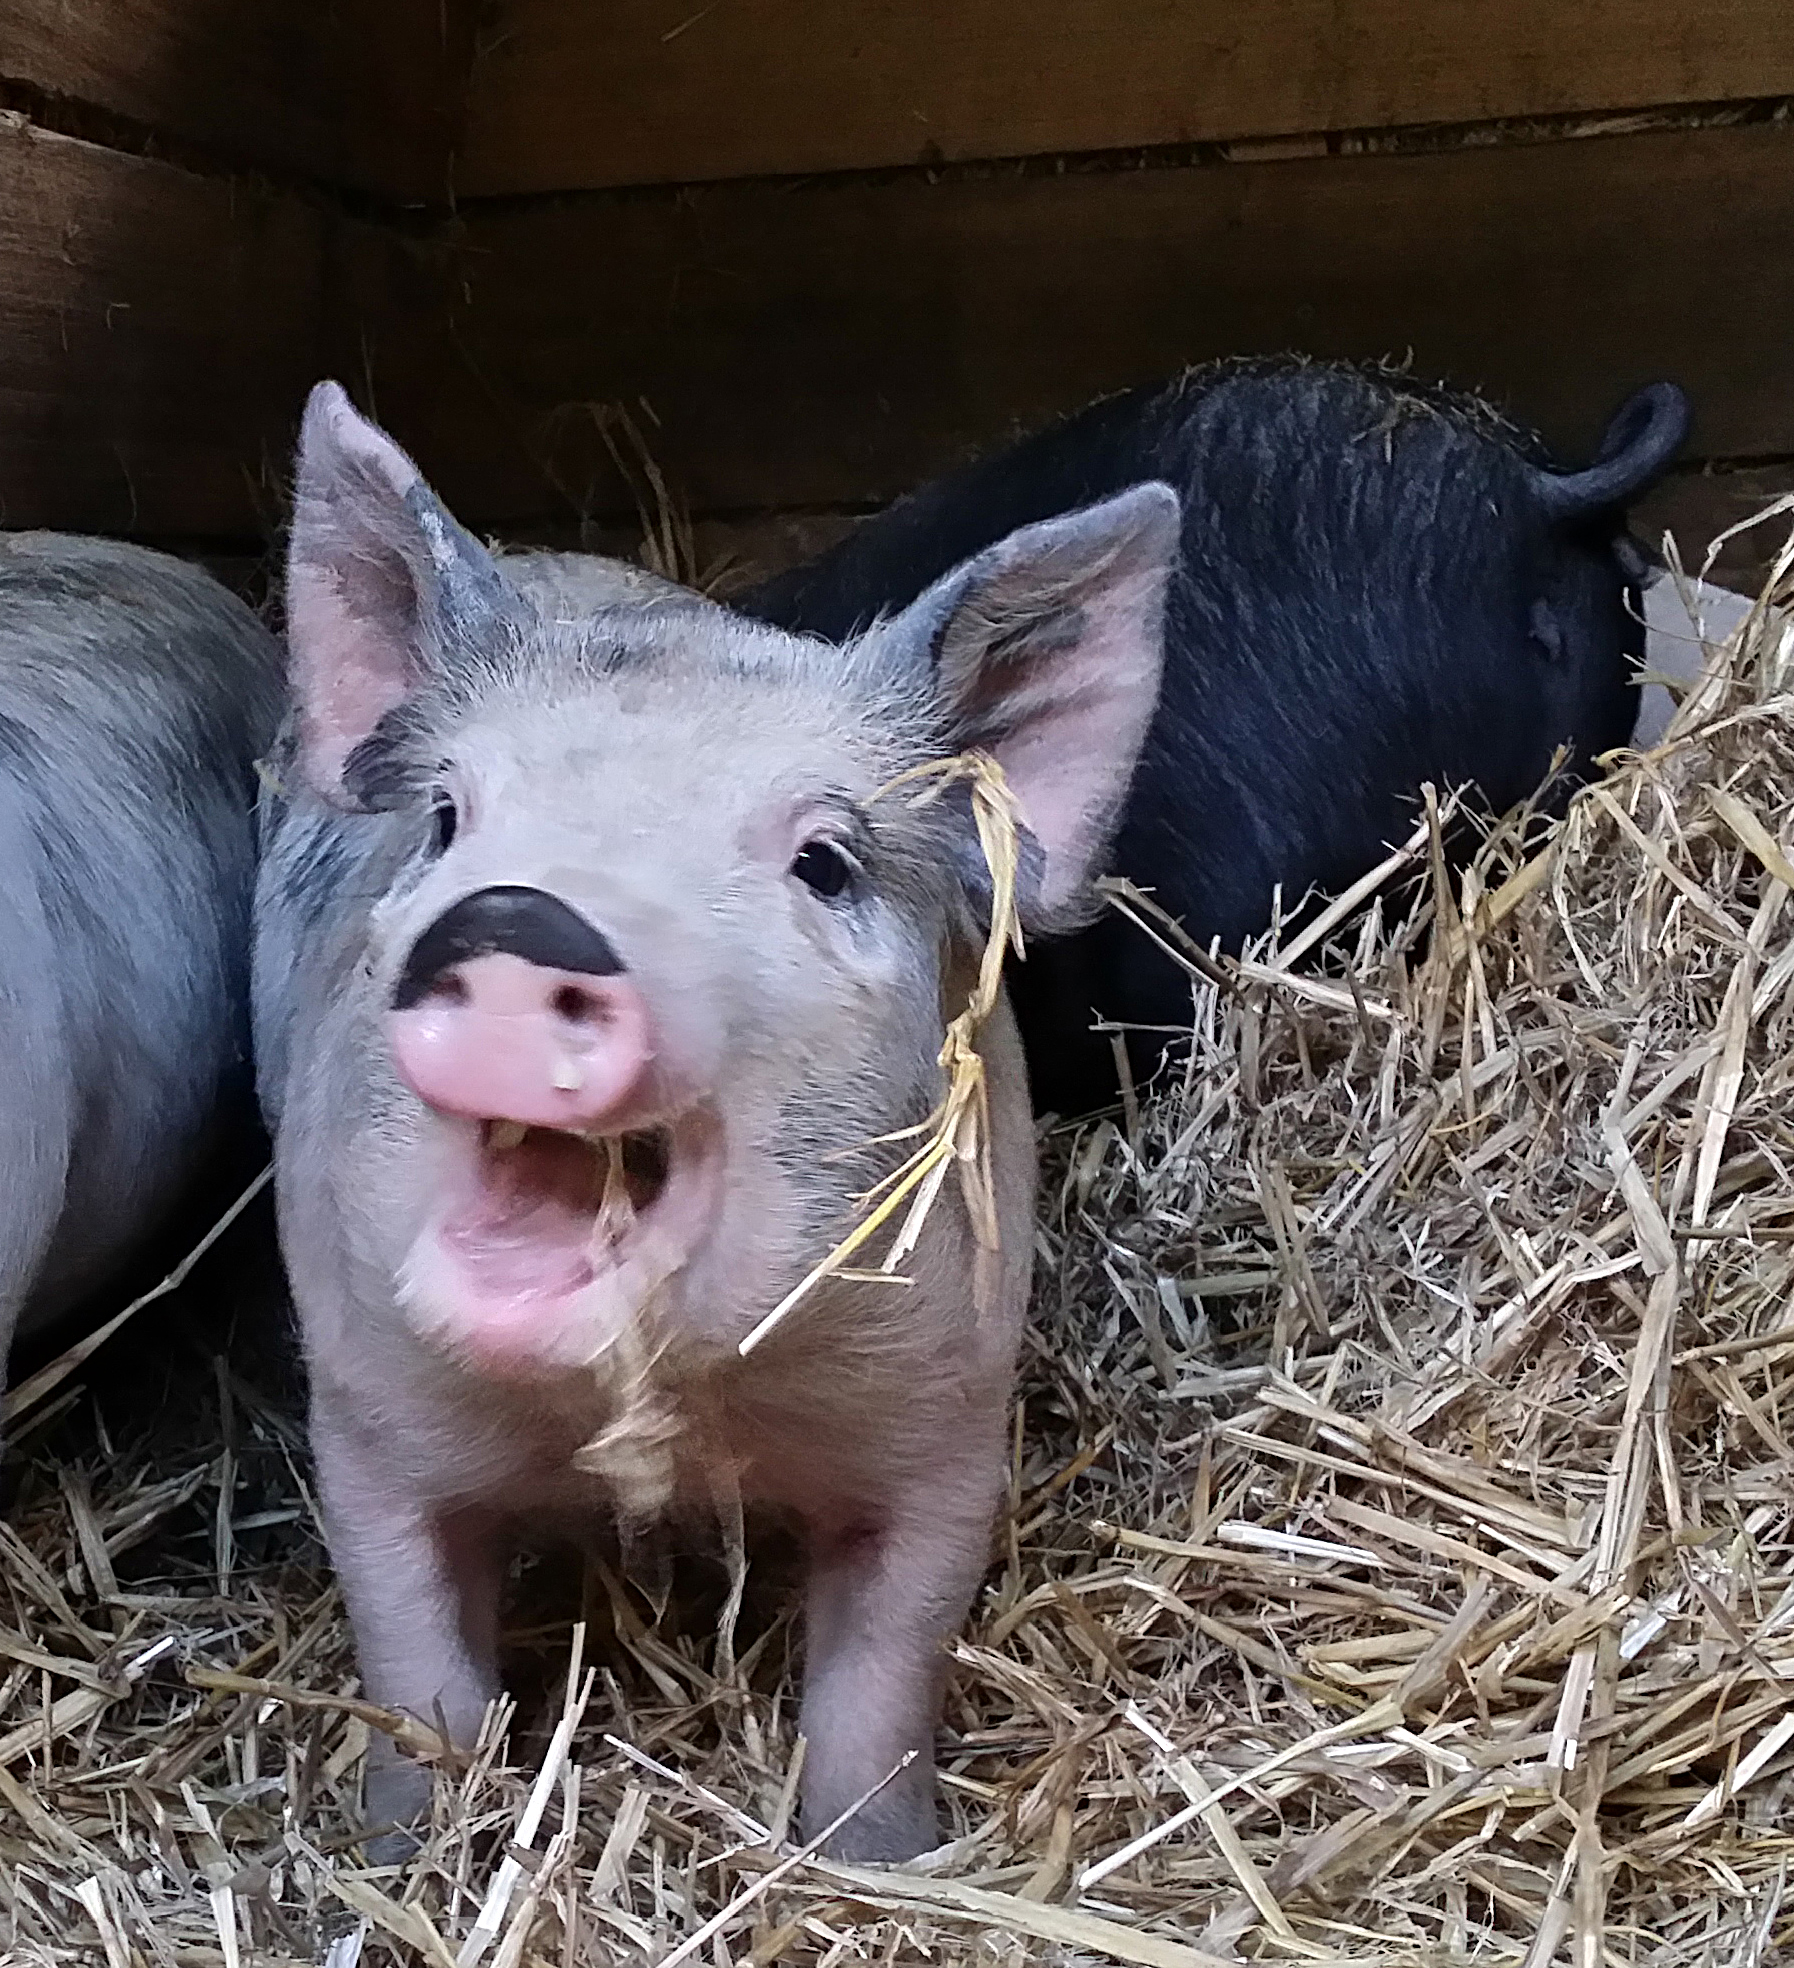
We have one all black pig (female) and three black and white pigs (two males and one female). Not saying they aren’t exactly as advertised but… I suppose it’s possible… The main thing is they are healthy, well formed pigs.
They settled down after we had put them in the house which is packed with barley straw. Straw is better for use in animal houses than hay, as hay has too much moisture and will go mouldy quickly. Barley or oaten straw are preferable to grass straw as they have substantially greater nutritional value. Lots of straw to start with is great as it gives them somewhere to hide when they are feeling uncertain of their new surroundings. Also it keeps them really nice and warm, it’s going to be 3 degrees celcius overnight tonight and 12 to 15 tomorrow.
Soon there were apples and they began to realise we weren’t all that bad. Though they were still keeping a good eye on us.
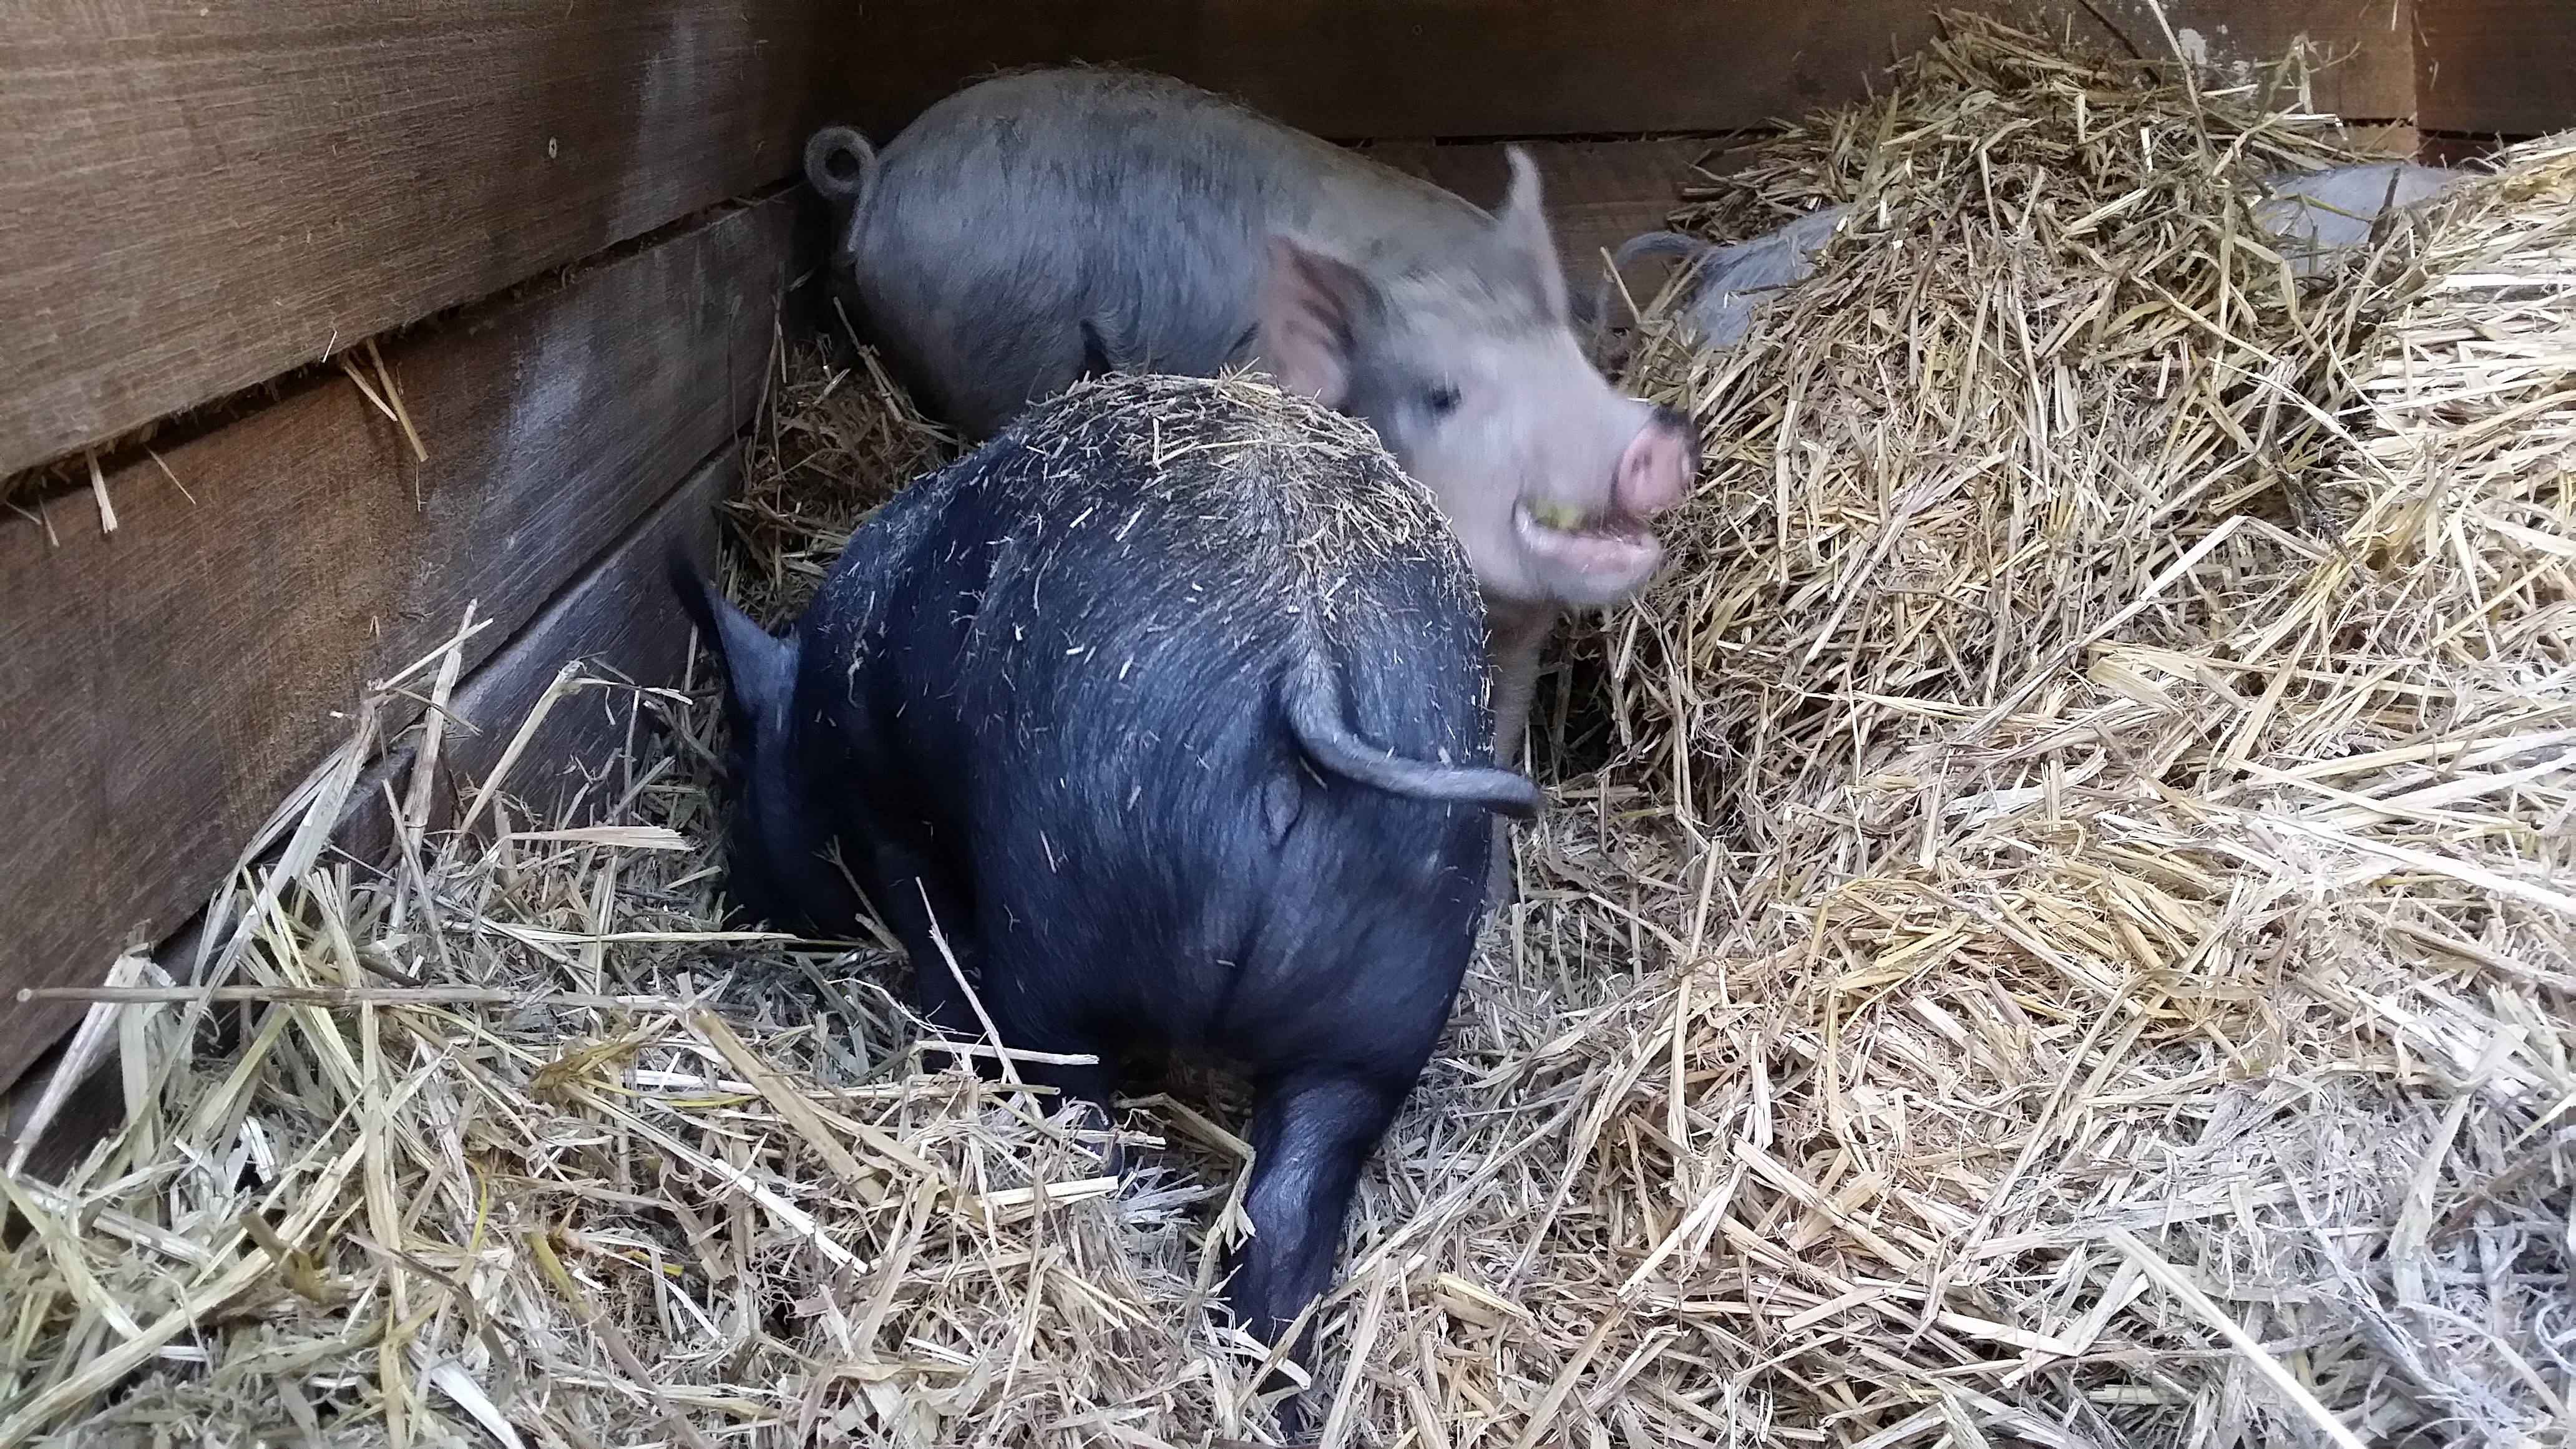
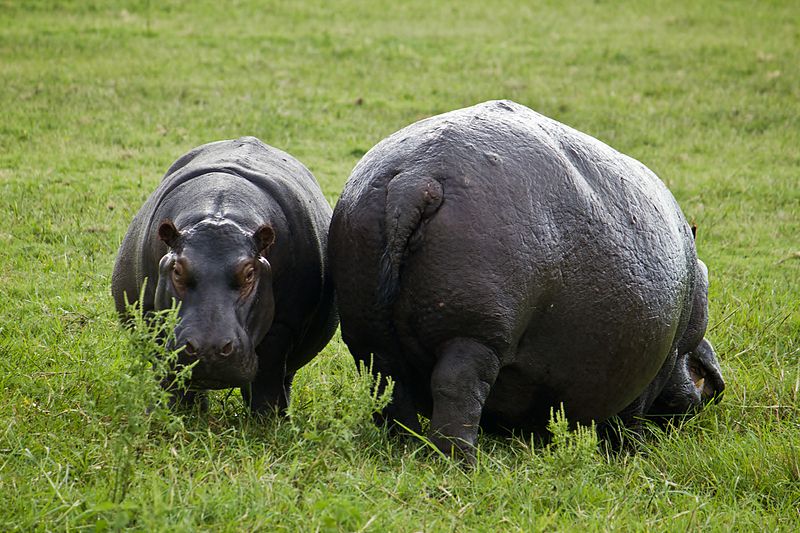
Looking at them from behind made me think they look a lot like hippos.
In fact hippos were originally first classified as being most closely related to pigs, because of their teeth. But later DNA evidence revealed they were actually most closely related to cetaceans [1].
I must confess I already have a favourite. Here she is. I think I will call her Midnight. She looks just like her mum.
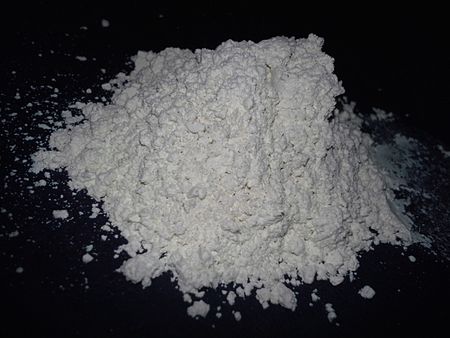
Finally, after several apples, they relaxed and began to explore and enjoy their new home. Eventually they came close enough to us that we could see they had lice, so we put plenty of diatomaceous earth on them, and in their house. Last time we had pigs they also came with free bonus lice. Three days after the diatomaceous earth treatment they had none. However we do put diatomaceous earth in their house regularly. It is composed of the fossilised remains of diatoms, a group of algae with the unique feature that they are enclosed within a cell wall made of silica.
There are two types of diatomaceous earth, food grade and industrial. The former is so named as it is totally edible. The latter is used in industrial filtration processes and some swimming pool filters and is totally not edible. The food grade has a wide range of uses for many animals, including humans. We put it in our grains stores to prevent insect attack. This means it coats the grain so when animals eat the grain they ingest the diatomaceous earth as well. We also dust our hens’ houses with it to prevent lice and mites. As a result our birds never get scaly leg mite.
Diatomaceous earth is a mechanical rather than a chemical method of controlling insects [2]. It has a two fold method of killing insects. Firstly it is composed of very sharp, small pieces. Insects have a layer of lipids on their carapaces to help them retain moisture. Diatomaceous earth scratches this layer and as a result moisture escapes, making the insects dehydrated. Secondly diatomaceous earth is very absorbent, for which reason it is used in kitty litter, and this adds to the insects’ dehydration sufficiently that they die. Because it is not toxic one doesn’t need to be bothered about it building up in the environment.
Until recently it was quite hard to get hold of here in Tasmania and we had to buy it in bulk from Fossil Power, although it costs as much for shipping as for the product from them. Recently it has become available here at Riverbend Farm in Margate.
When one gets pigs it is vitally important to keep them completely contained for a few days until they realise they live here now. Otherwise you may never see them again. Stout fencing is required. We keep them shut in the pig house for four days and then let them out into a 10 metre by 12 metre fenced yard in the middle of a paddock. This yard has electric fence, one strand at six inches off the ground and another at eighteen inches off the ground, on the inside of a wire mesh fence. This has proved to keep pigs contained. Once they get too big for that area we open the gate and let them out into the paddock.
Our goal is to try to create an environment they won’t want to leave, so we provide them plenty of space, access to pasture, a comfortable, dry house that is raised off the ground and we make a special effort to hang out with them and play. This is no work at all as they are incredibly funny and intelligent. They will chase a thrown ball, though they haven’t got the knack of bringing it back to us so we can throw it again. We also make sure they know we are the source of yummy foods so they will come when we call. Having said all this though they are very wilful and determined animals. They will charge electric fences to get through them even though they know they will get zapped so it isn’t wise, at least at first, to rely only on electric fences to keep them in.
One of the reasons it is important to keep pigs contained is that if they eat meat they can get the parasite trichinosis, which can be passed on to humans who eat them. For this reason it is illegal to feed meat to pigs in Australia [3].
We will be feeding them a crushed grain muesli made by Tasmanian Seedhouse [4], who are a local feed supplier who grow their own grains. When grain is crushed it looses nutrients quickly, which is why we choose a local supplier. We soak it in milk to start with as milk is $1 per litre. This feed is 16% protein, 2% fat and 7% fibre and contains the following:
It is designed as a whole feed, but these guys will be getting out onto pasture pretty quickly. Pigs can do very well indeed on pasture alone [5], although young pigs do need their diet supplemented as they cannot eat enough vegetable matter to provide them all the nutrients they require. Also, all our apple trees have ripe fruit on them at this time of year so things are looking good for the pigs.
Welcome to Down South Farm
I always find it strange writing the first post on a blog. It seems a bit like a pretense, “Here’s a blog, but it only has one post”. I do hope you will all bear with us while we get this blog together. We will be posting all kinds of stuff about chooks; feeding, breeding, incubation, health care, recipes, and anything else we can think of. There will also be information about the other things we do on our farm, all the other animals we keep, farm management and basically anything else that crosses our minds.
Many of you will no doubt however be most interested in buying birds. I know this as I have been inundated with enquiries about when they will be ready. I’d like to thank you all for your patience. The birds are now ready and you can place your order on the Chooks for Sale page. I must caution you all that the demand for birds greatly outstrips supply so everybody who has enquired is not going to get birds. Each year we breed more birds, and each year we are unable to satisfy demand. For this reason we have decided to limit each order to two pullets per customer so that more people will get birds. Don’t fret if you don’t get birds from this first release, there will be more birds available in about three weeks.
Many people ask me why I don’t take advance orders for birds. The answer is that I did that once before and it was very bad. Mostly for the very practical reason that one shouldn’t count one’s chickens before they hatch. If 20 eggs go in the incubator about 17 will hatch. Of those, some will be male and some female. I don’t know until the birds are twelve or so weeks old exactly how many of each sex I have. So taking advance orders is a guessing game at best and certain unhappiness at worst. I have had hatches that came out 75 per cent male! Because of this I have decided that the way to go is to just wait until the birds are totally sexable and offer them for sale then.
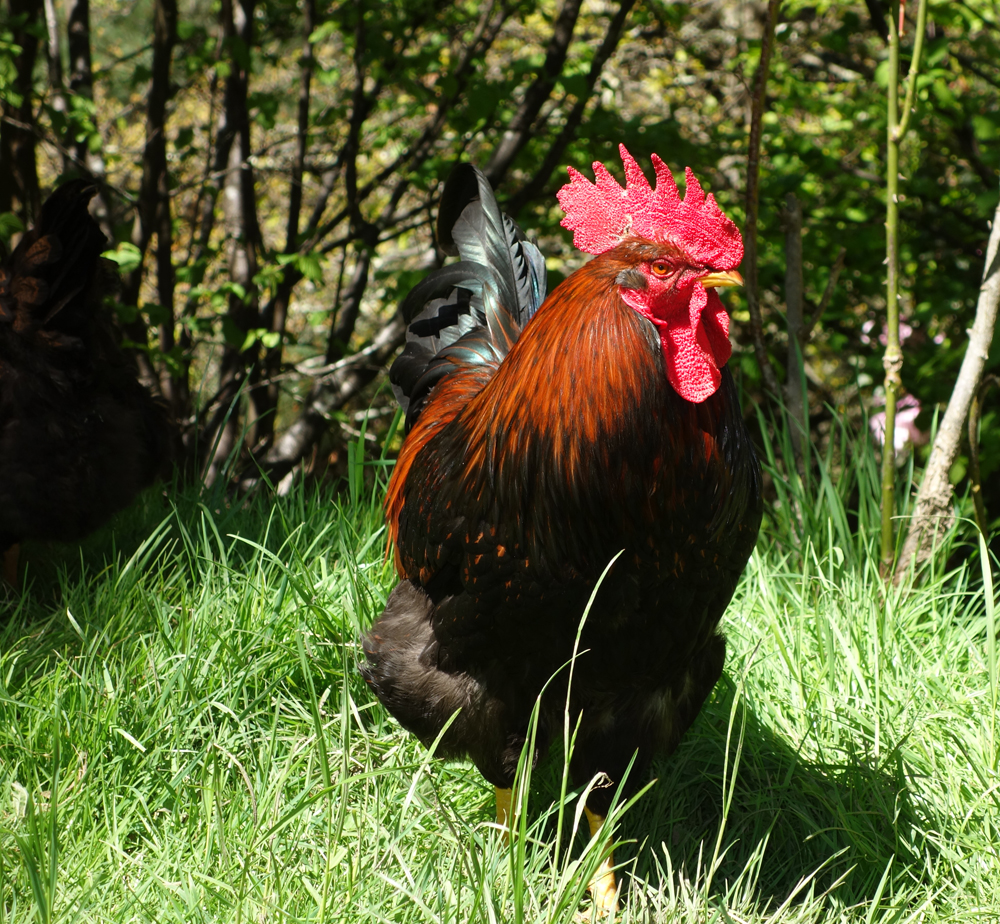
Below is a photo of one of our roosters, Ginger. Sadly he recently got another spin of the reincarnation wheel after he was bitten by a snake and came to a rather grisly end. He was a bit of a tail feather puller so the hens won’t miss him so much, and I certainly won’t miss his attacks. He got me a good one with a spur puncture wound to the calf just days before he died. He didn’t like me feeding his hens and would take any opportunity to send me a message via flying spurs. He also nearly beat his dad, Neo, to death a couple of months earlier. But, to be even handed about it, Neo had given him a couple of good beatings when he was younger so it was rooster payback. Ginger is now buried up on top of the hill in the Pet Sematary next to a cat named Chicken and a chicken named Lady.
If there are any topics that you would like us to write posts about please let us know and we will do our best to oblige.

